I have posted about the first prototype of my carbon microphone some time ago. For those who might have not seen it, I am re-creating a working microphone, based on the very first designs of sound transducers (or microphones for lay people), invented around the late 19th century.
You can read about the principles of its working in my first post. My aim was to create an easily constructable microphone which could be offered as a various building kit or as a finished novelty product. Although it is a completely working device, it has more educational implications rather than a practical recording device (it is not very practical), but regardless, it is perfectly capable to record sound.
If you want to have the right atmosphere while reading this article, here is a little ragtime snippet, re-recorded with my microphone.
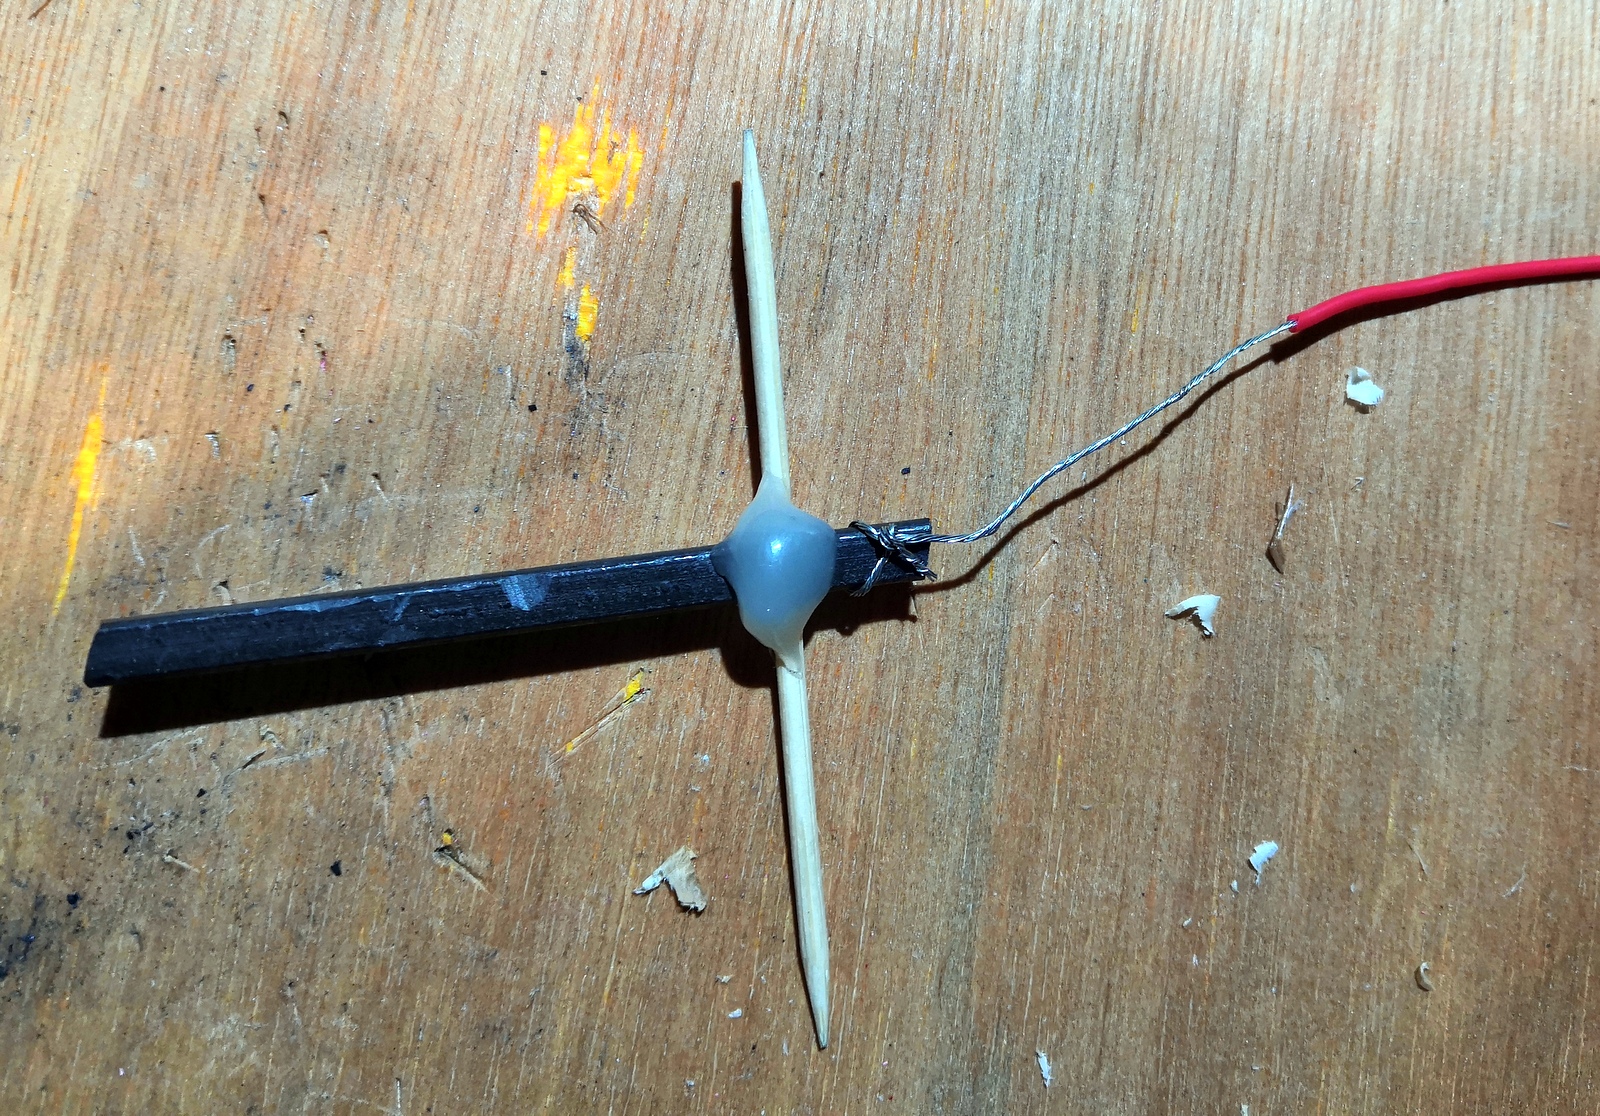
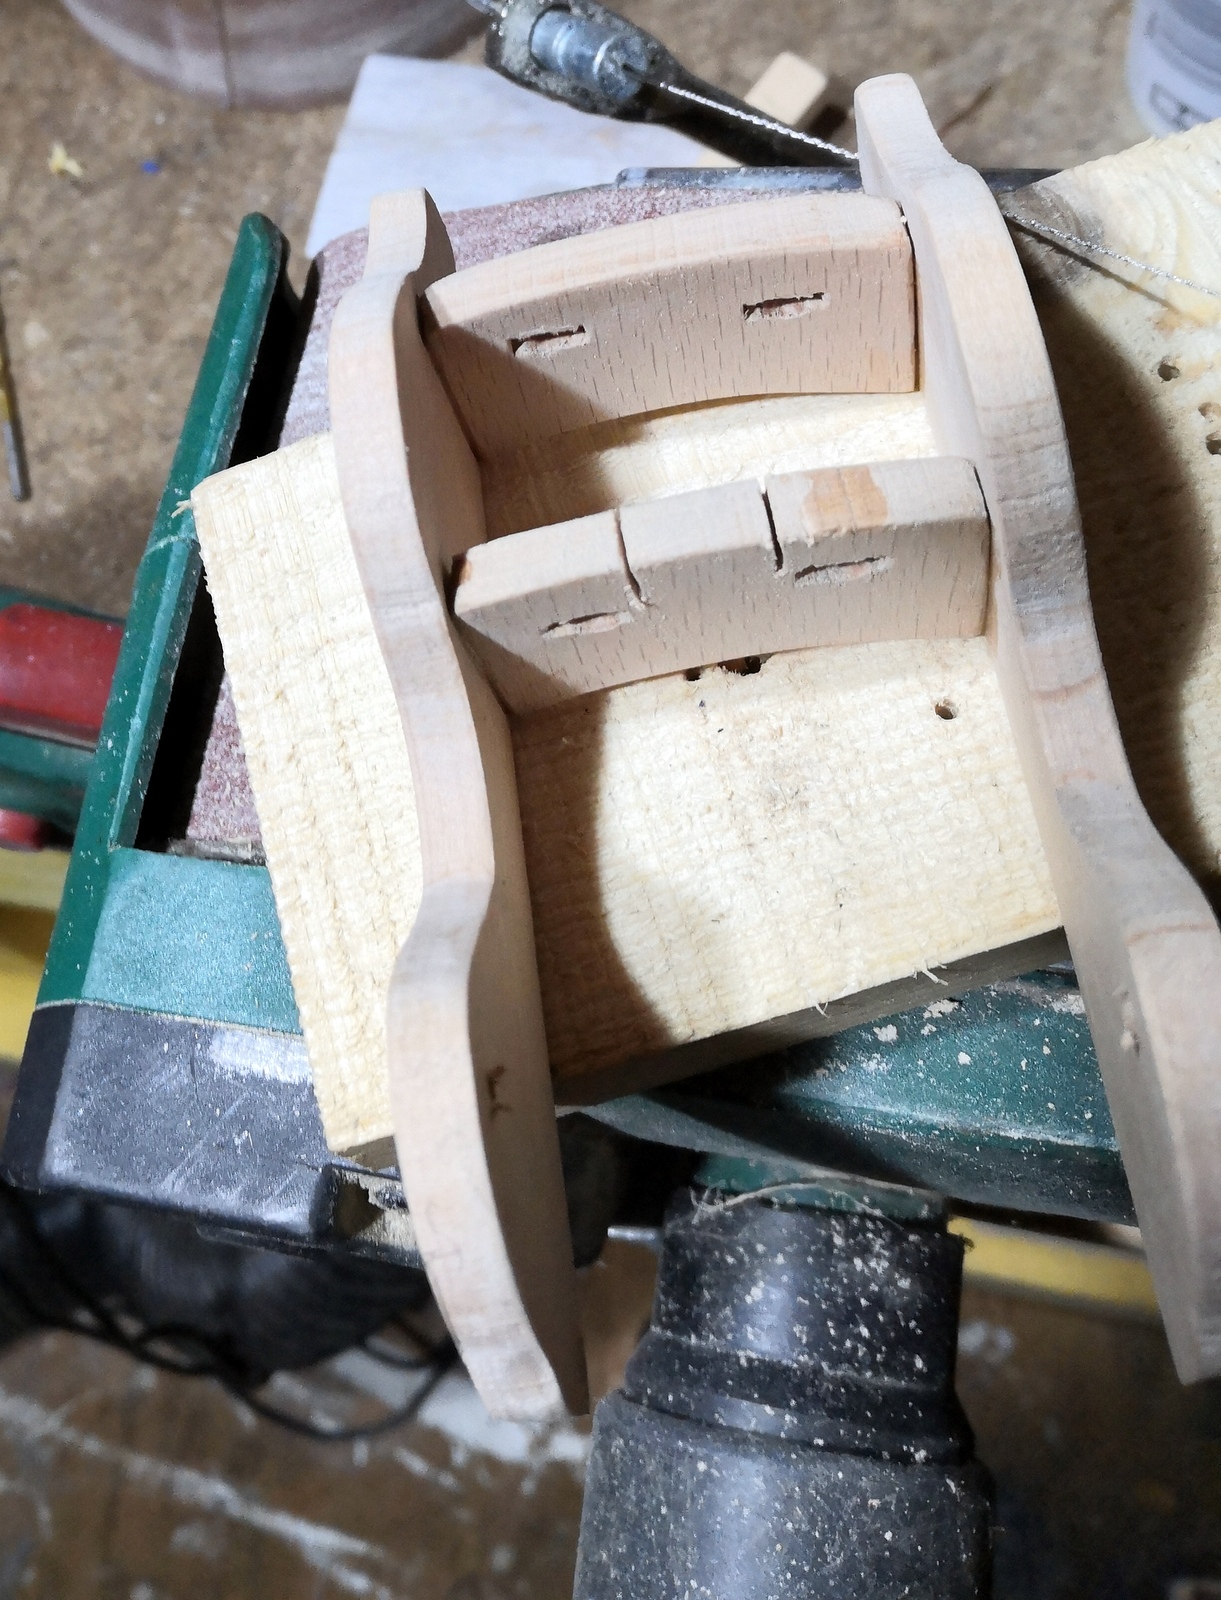
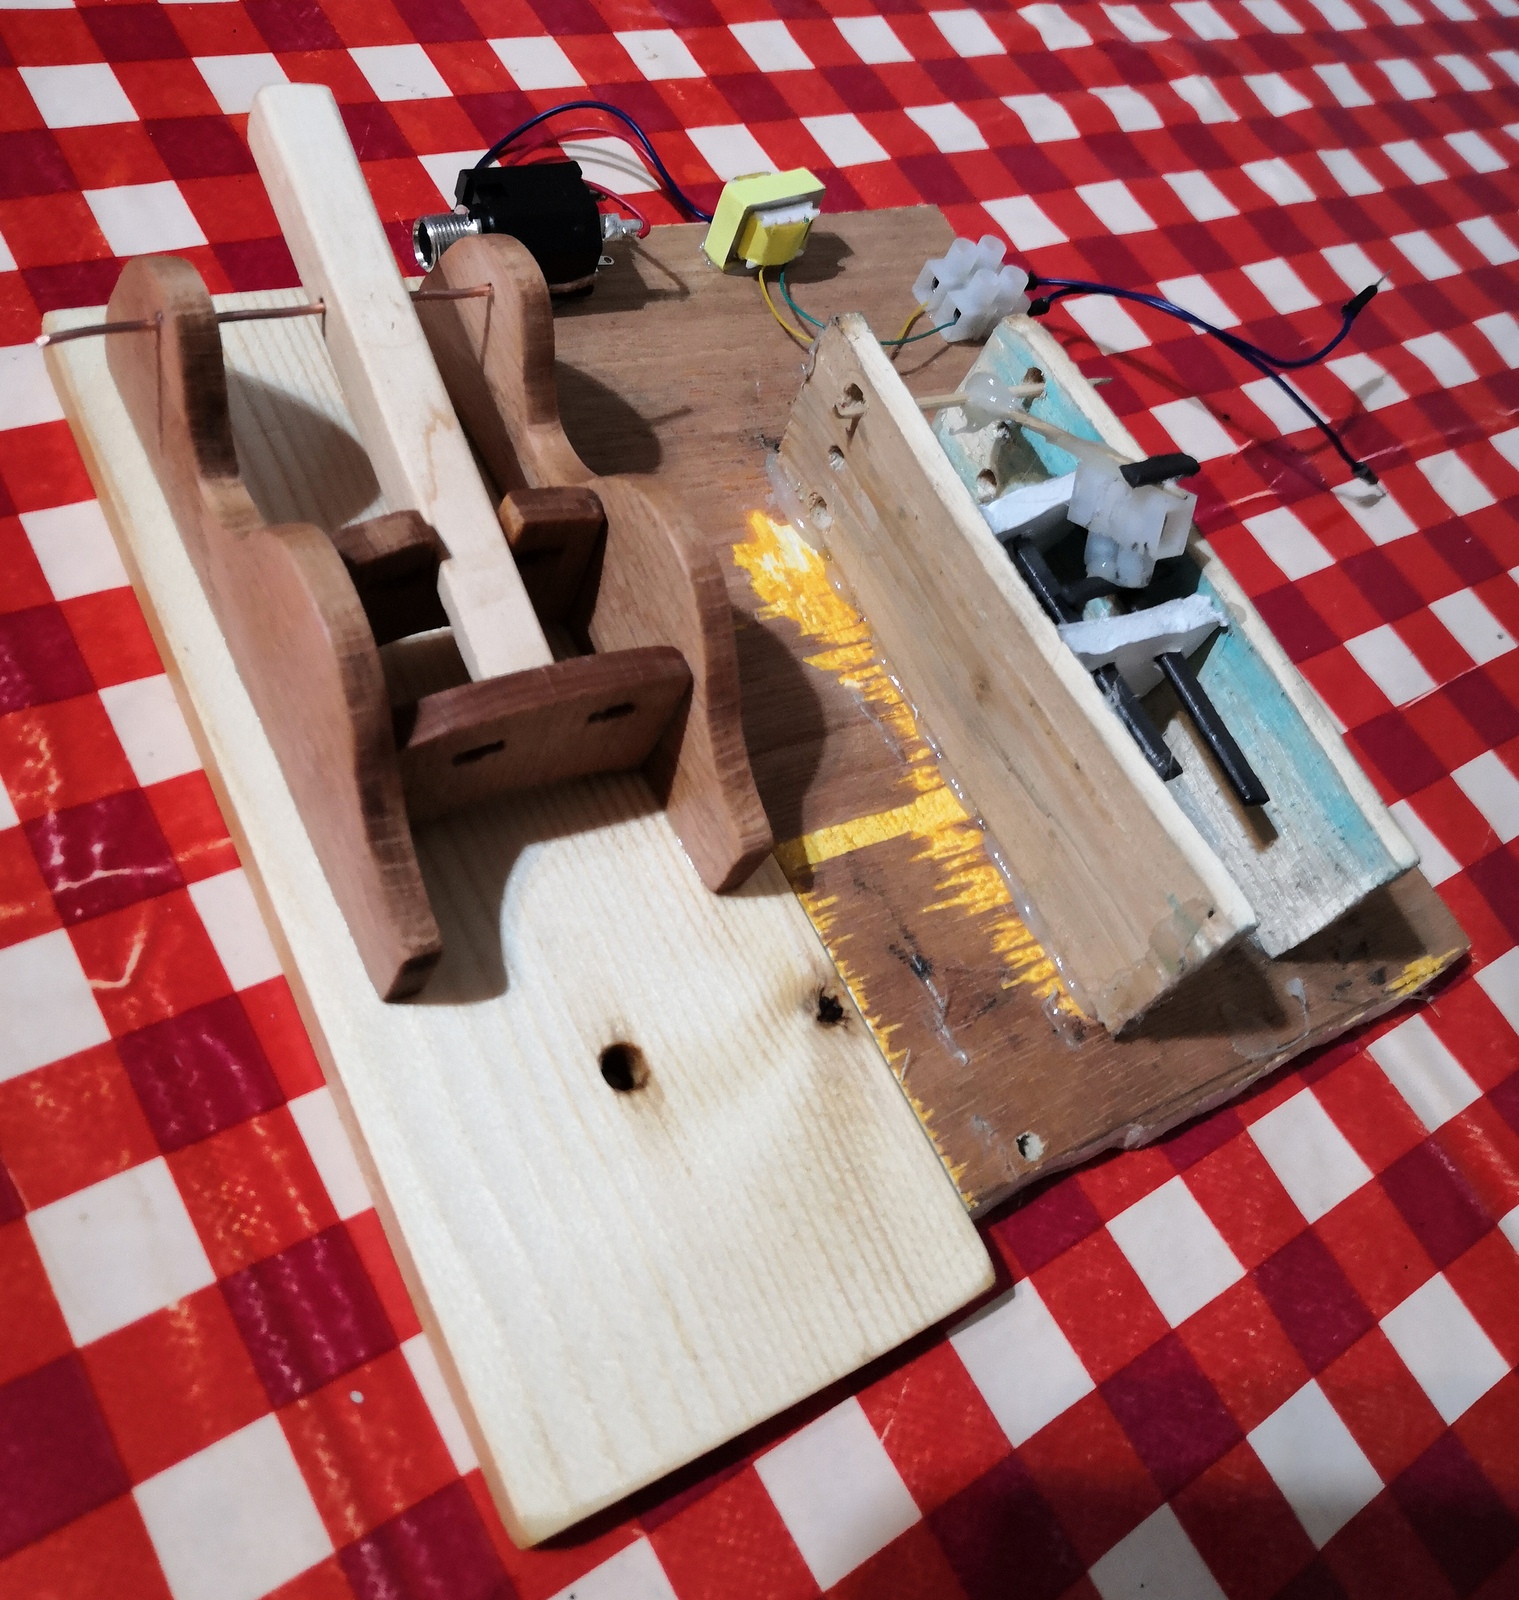
The second prototype is an improvement over the first built. While the first design uses a true loose contact, this is hugely restricting the practical usability, as the slightest knock on the device makes the contact rod to fall off. The new design uses a central (up – down) pivoting shaft to hold the bridge (connecting carbon piece).
The working principle of a carbon microphone is the changing resistance between the connections according to (air) pressure. The solution allows to slightly adjust the sensitivity of the microphone, by increasing the weight on the shaft which is holding the connection, thus increases the pressure and the initial resistance of the connection.
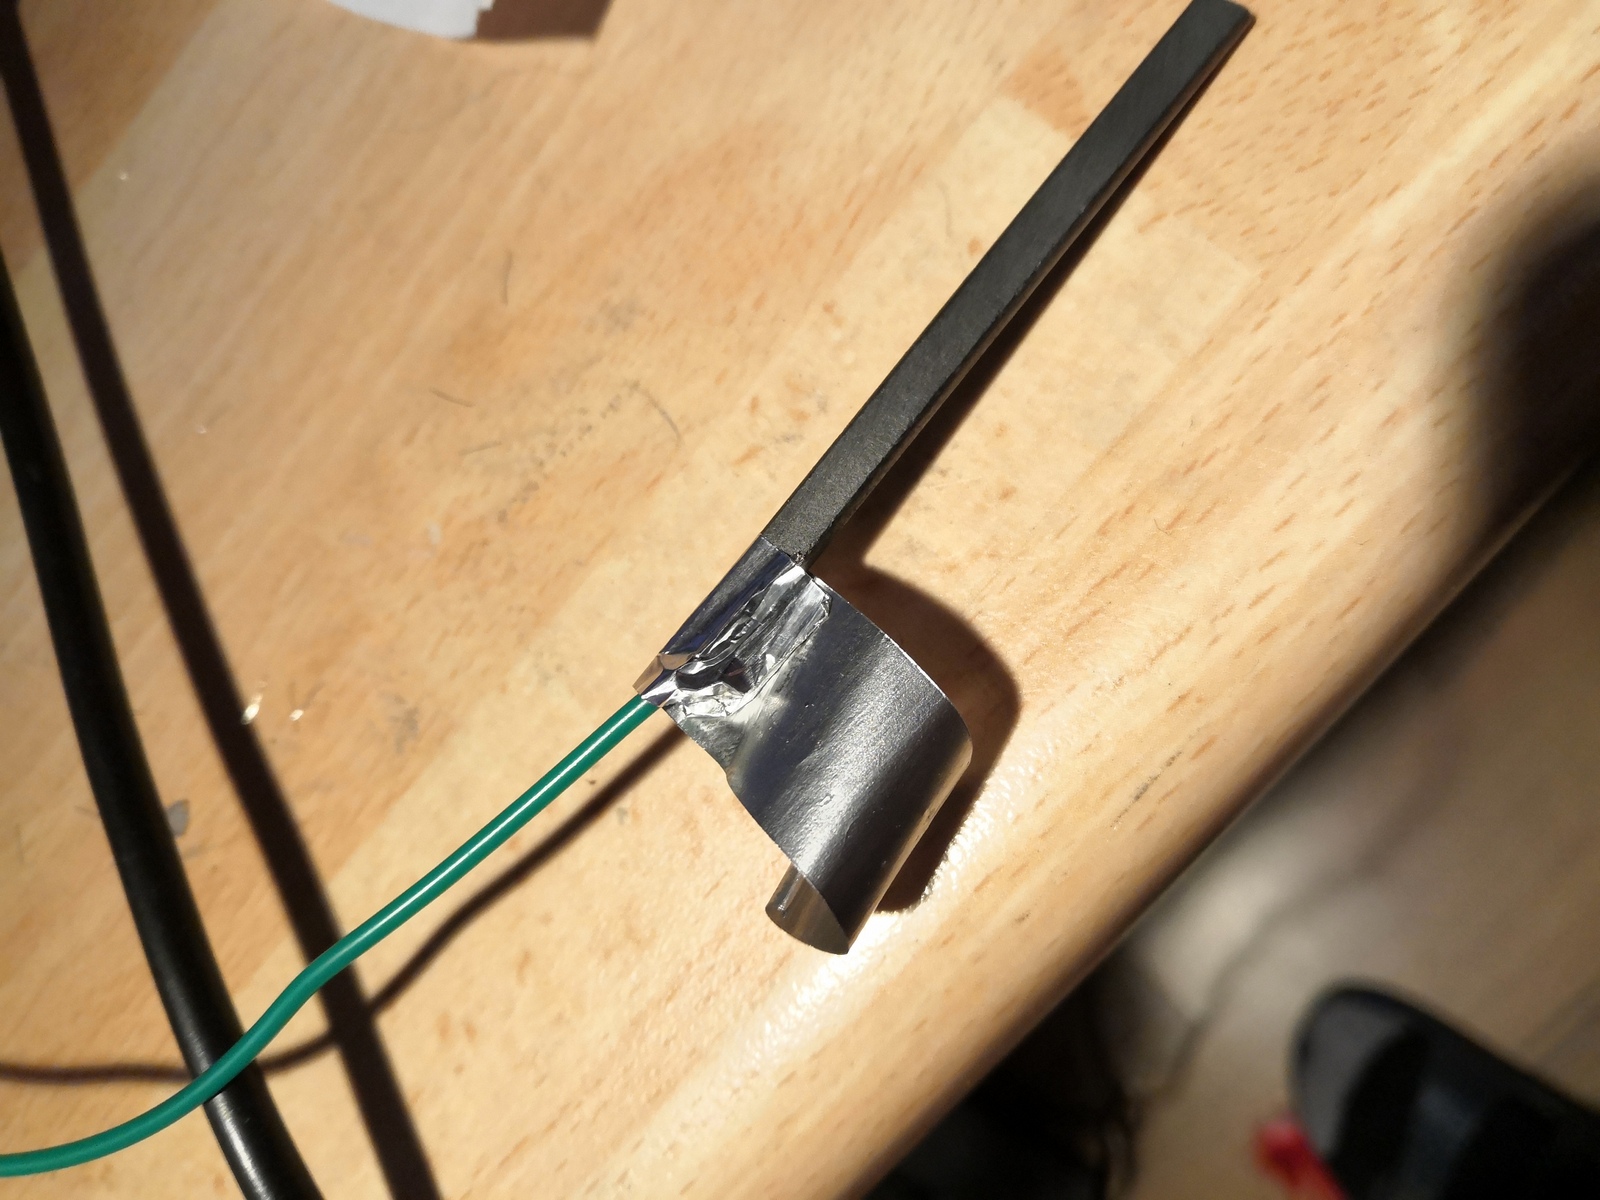
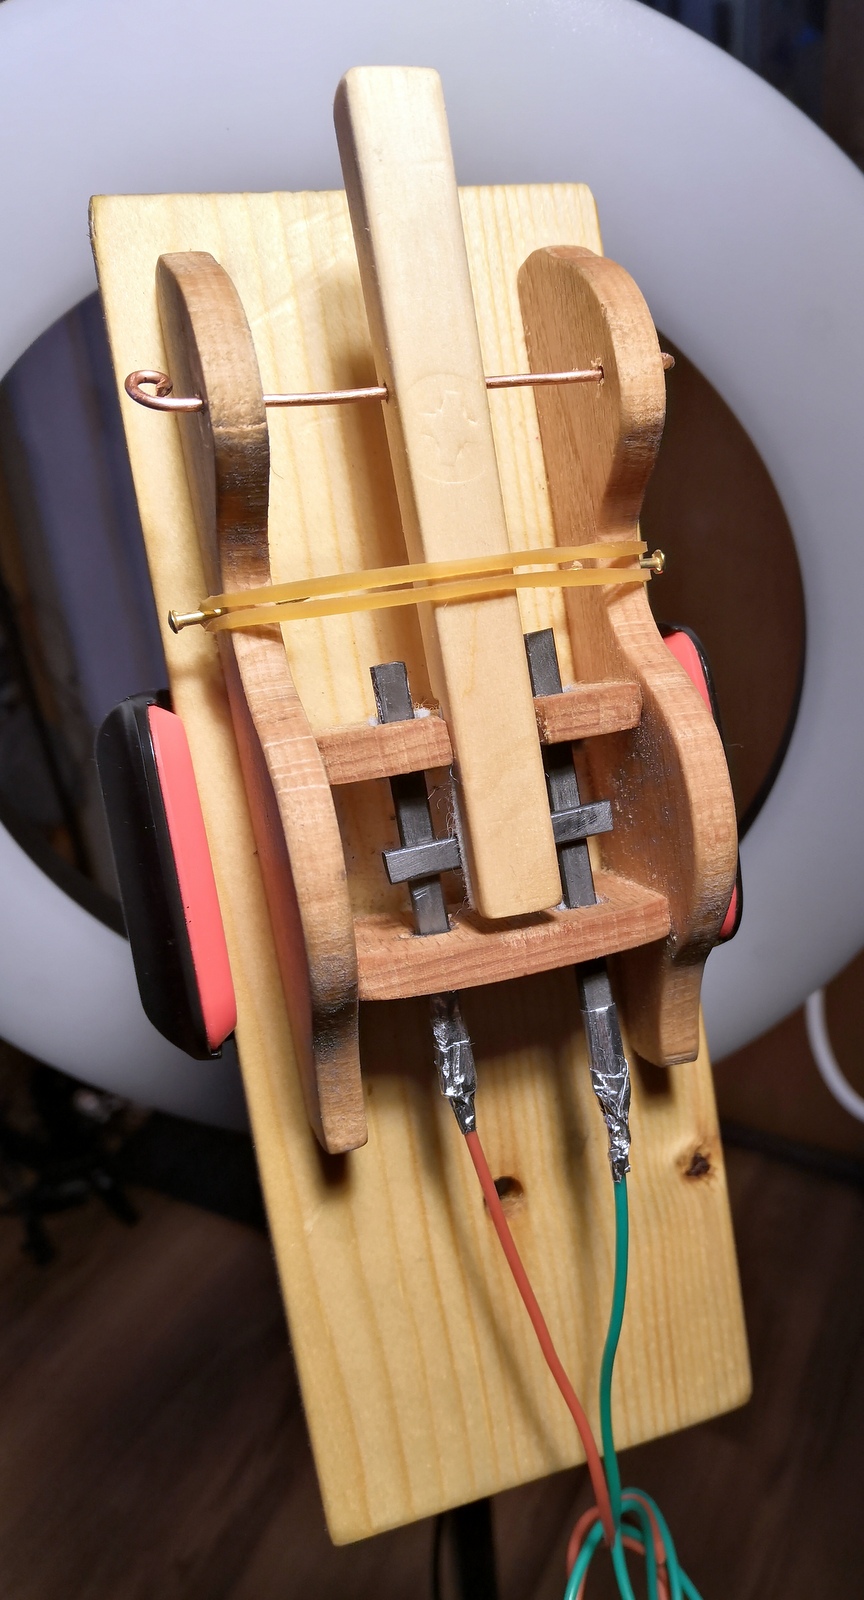
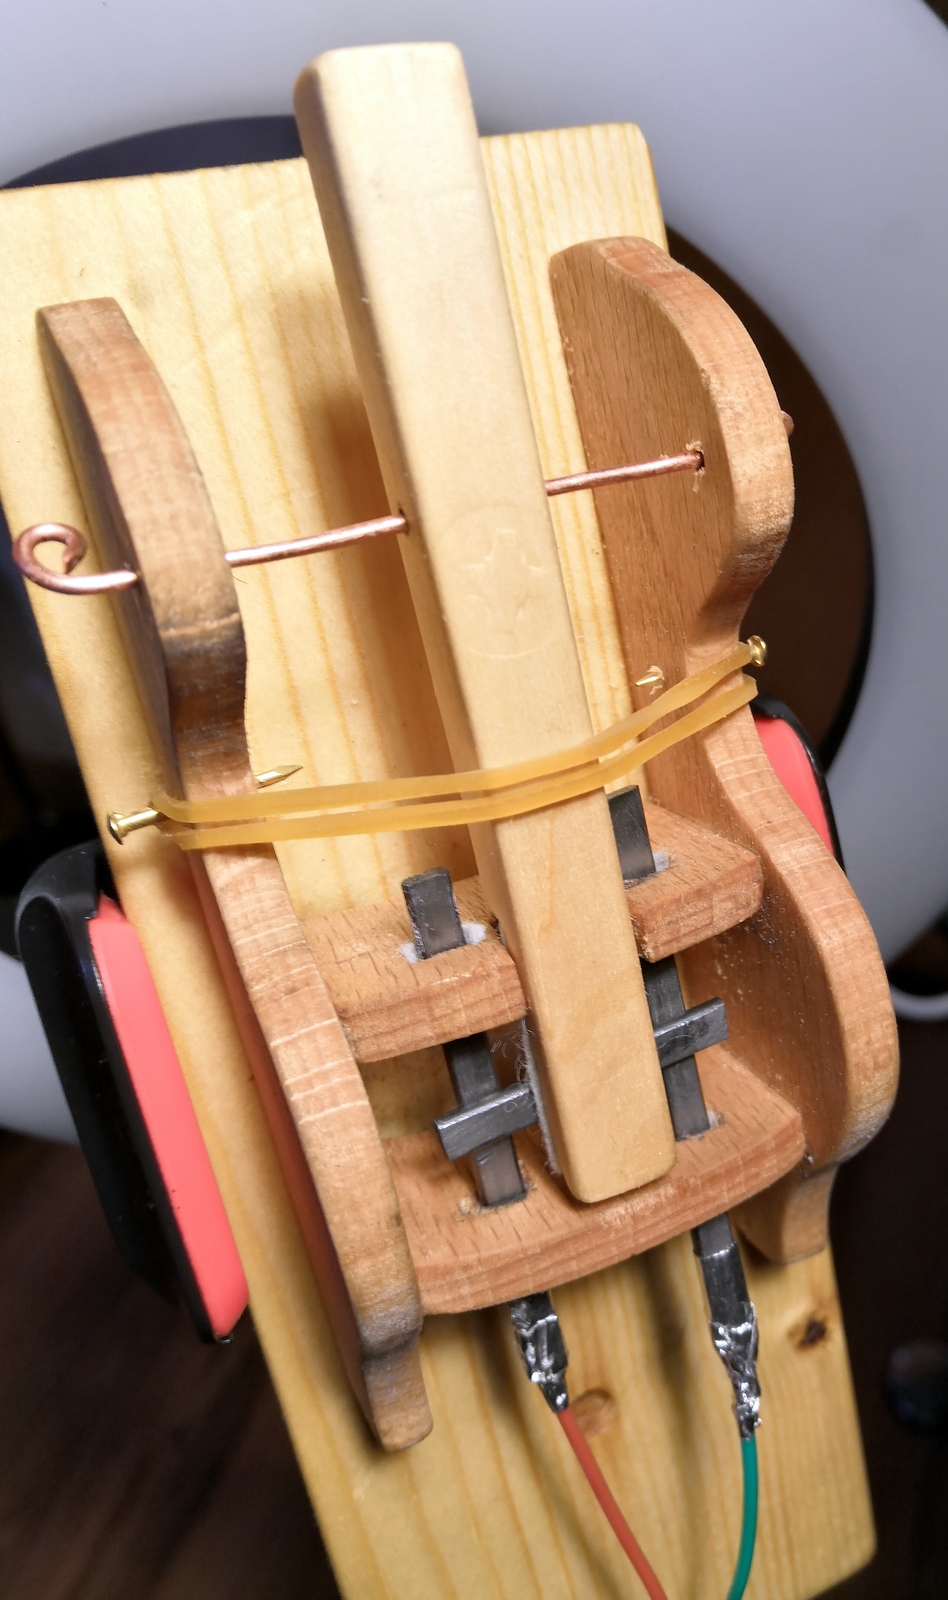
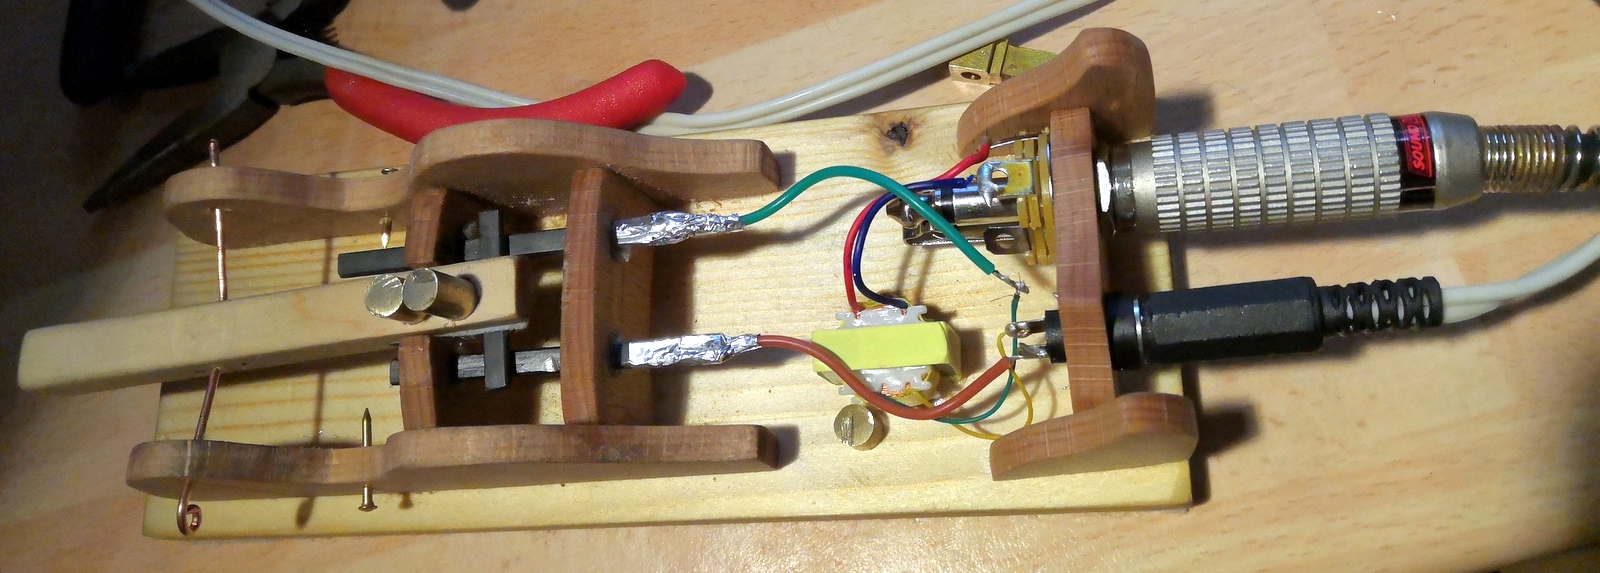
If you flick through the first gallery you can see how I have tried an upward layout first, using a one contact solution. This was not ideal as I could not make the contact loose enough, because I did not have a flexible enough wire to attach to the rod. Eventually, I have settled with a horizontal layout with a two point contact design, as I felt it is easier to adjust the connections between the links and gives a better recording result.
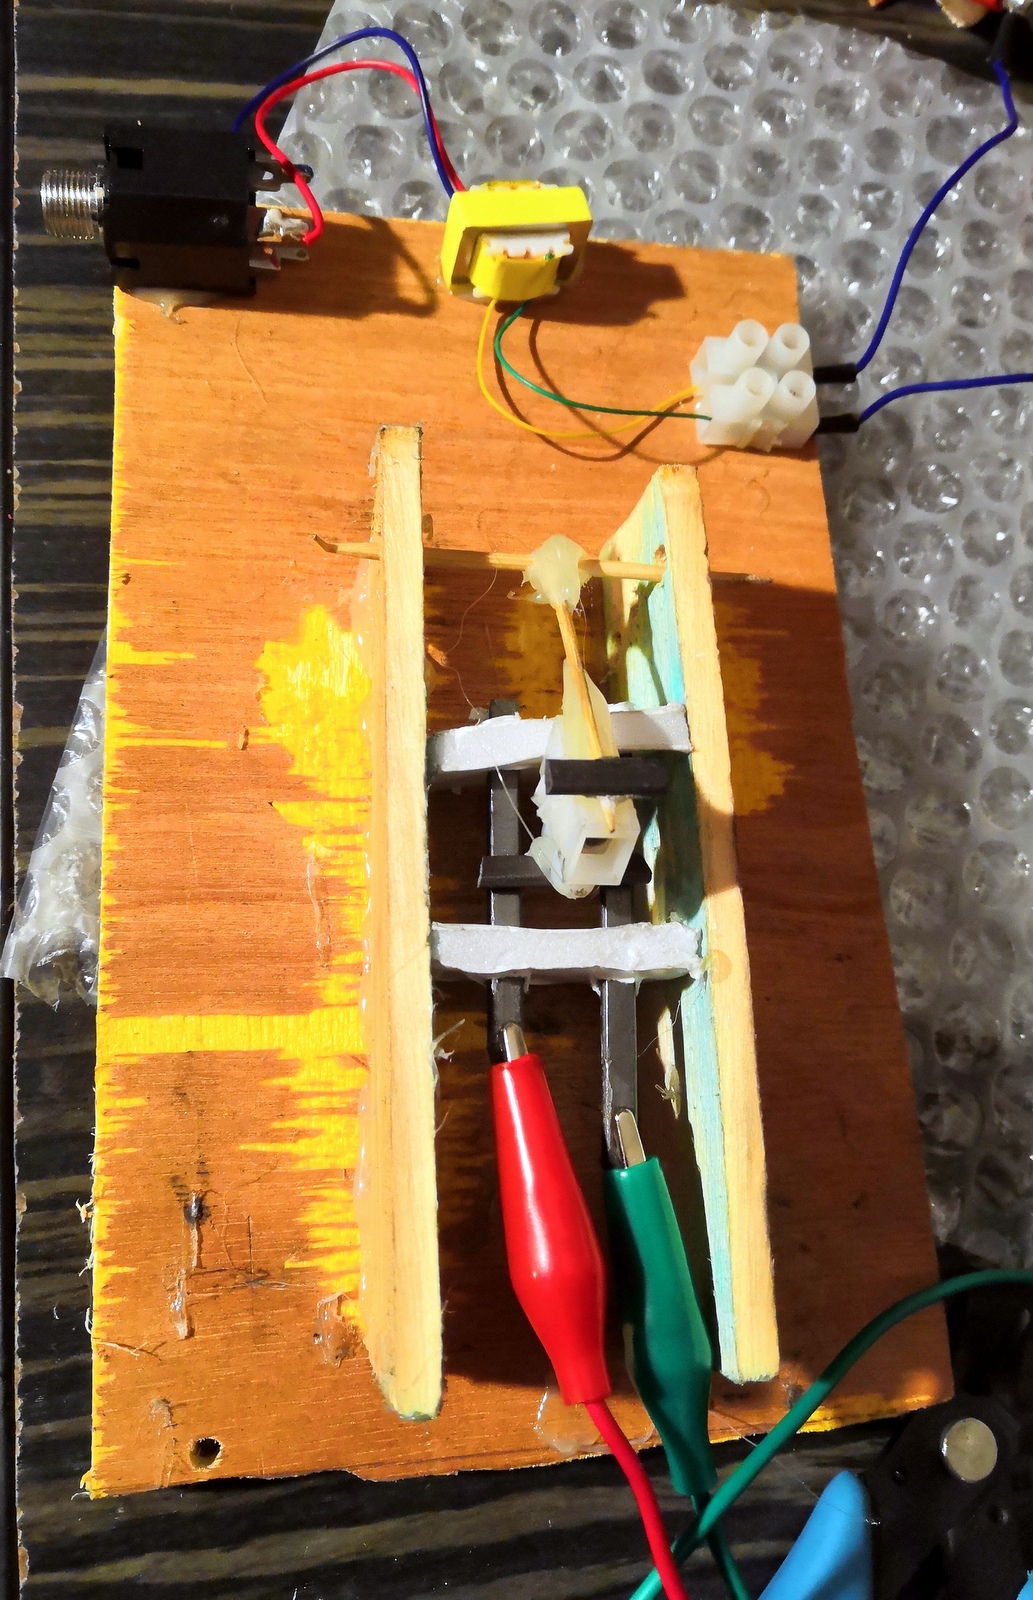
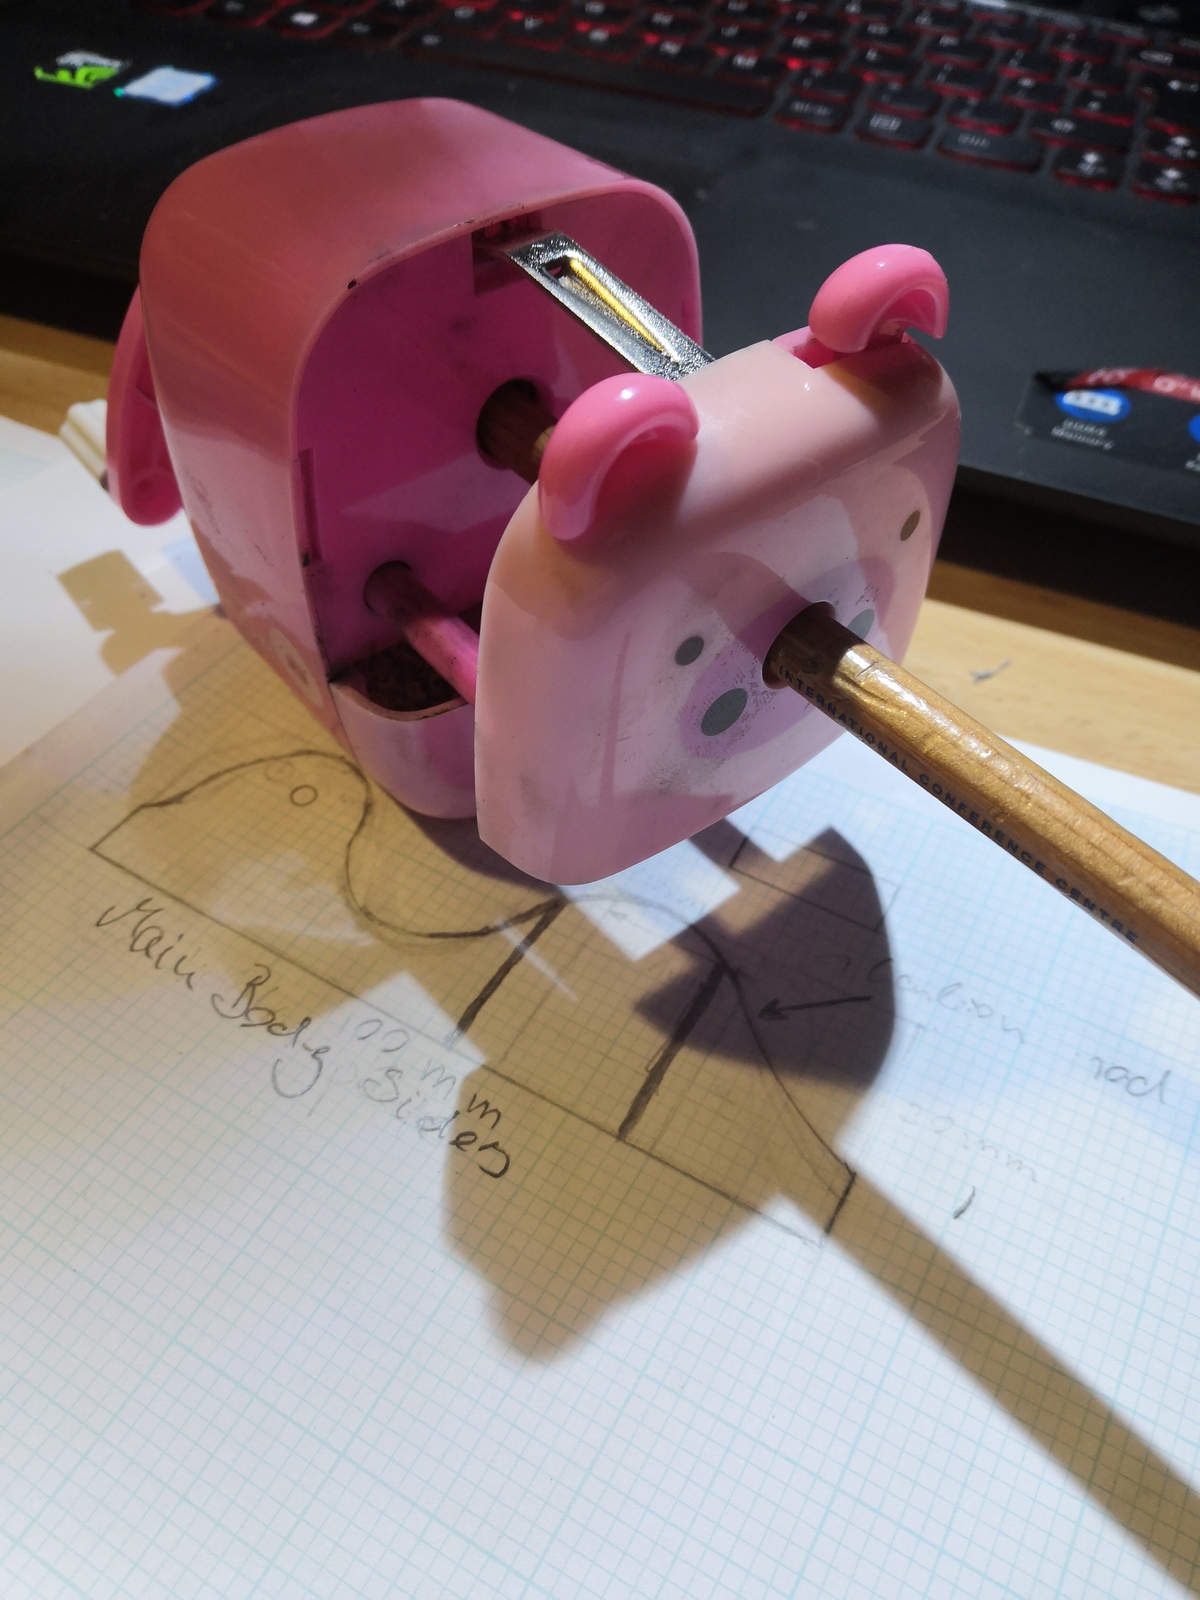
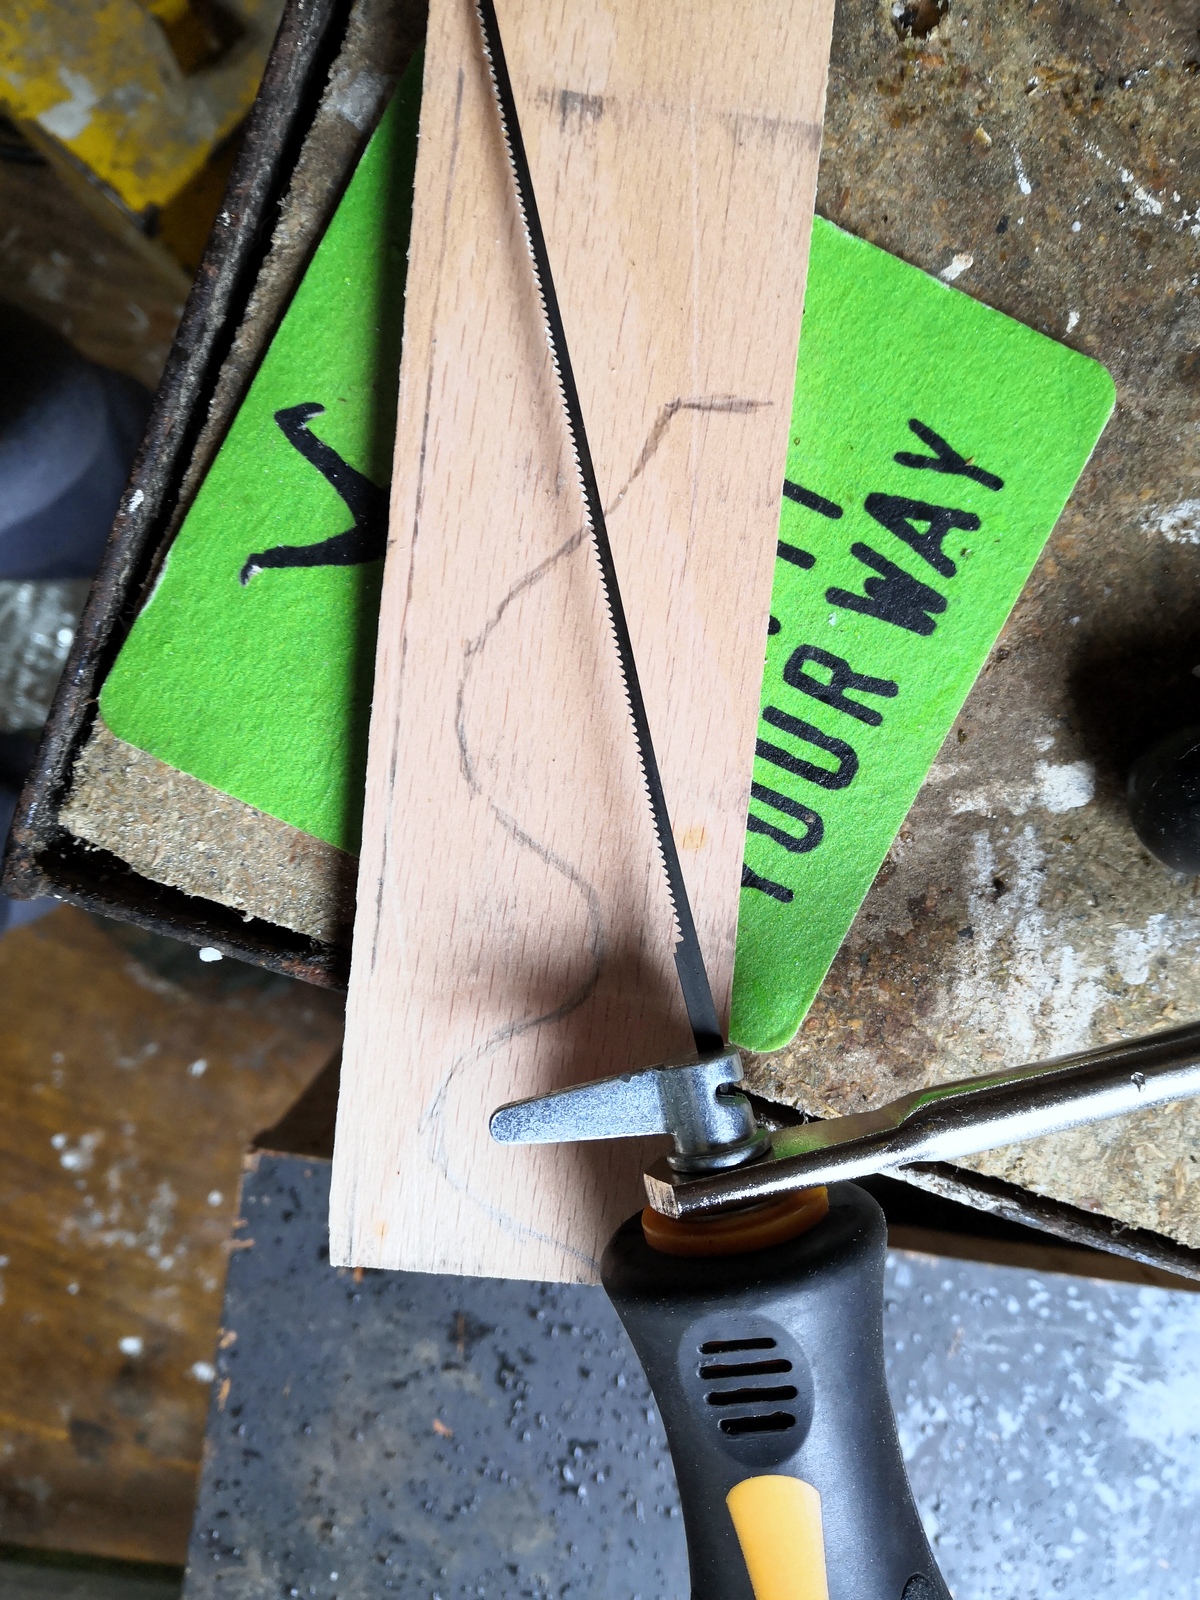
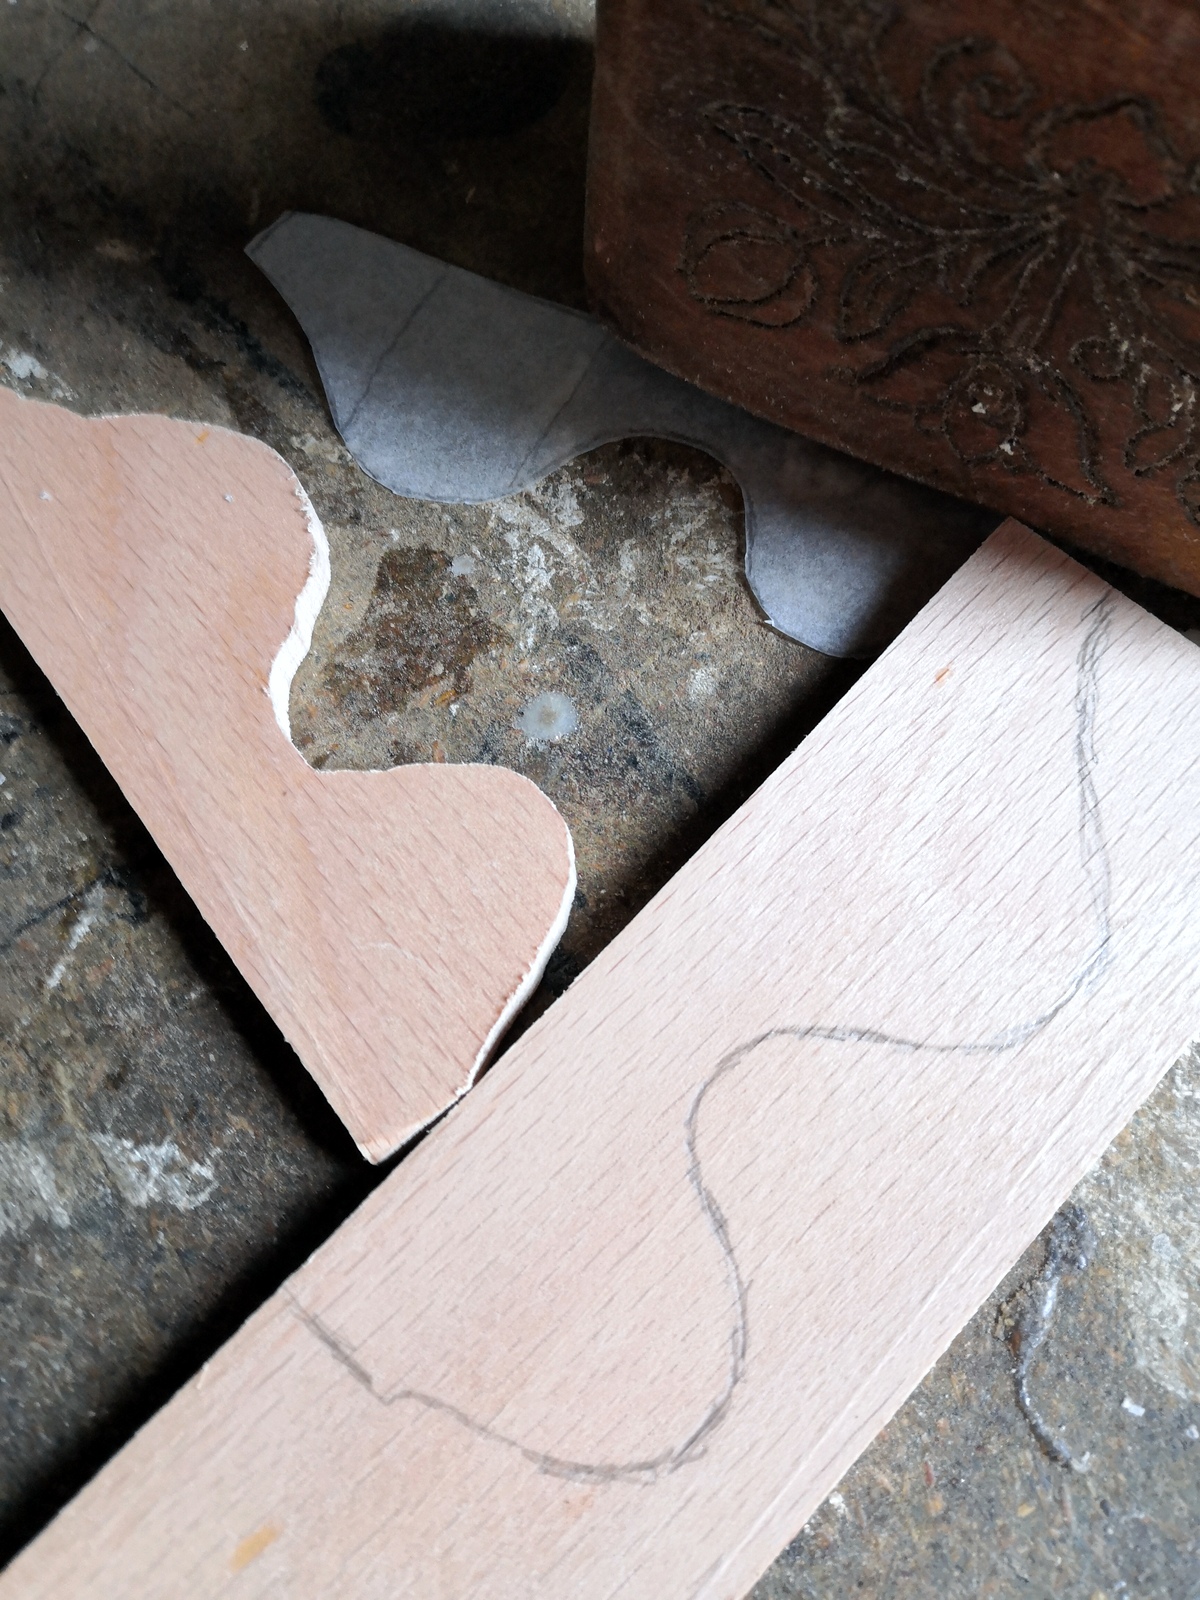
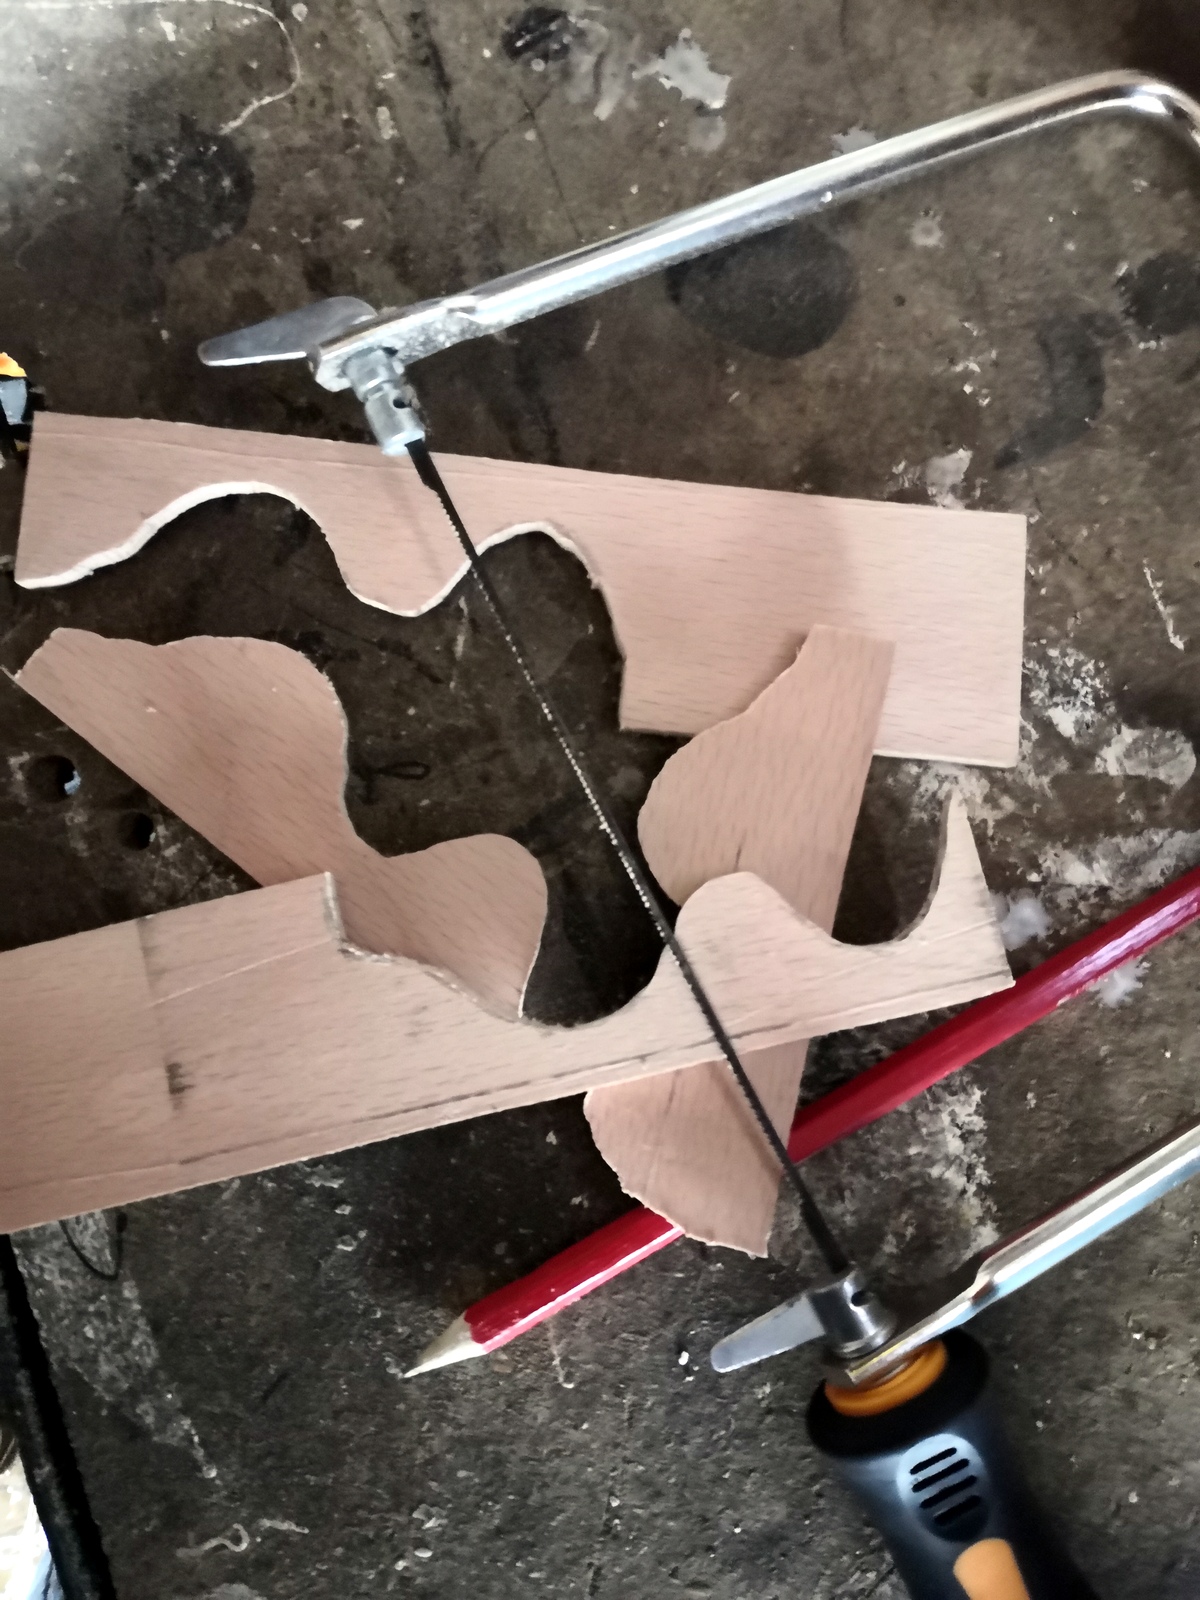
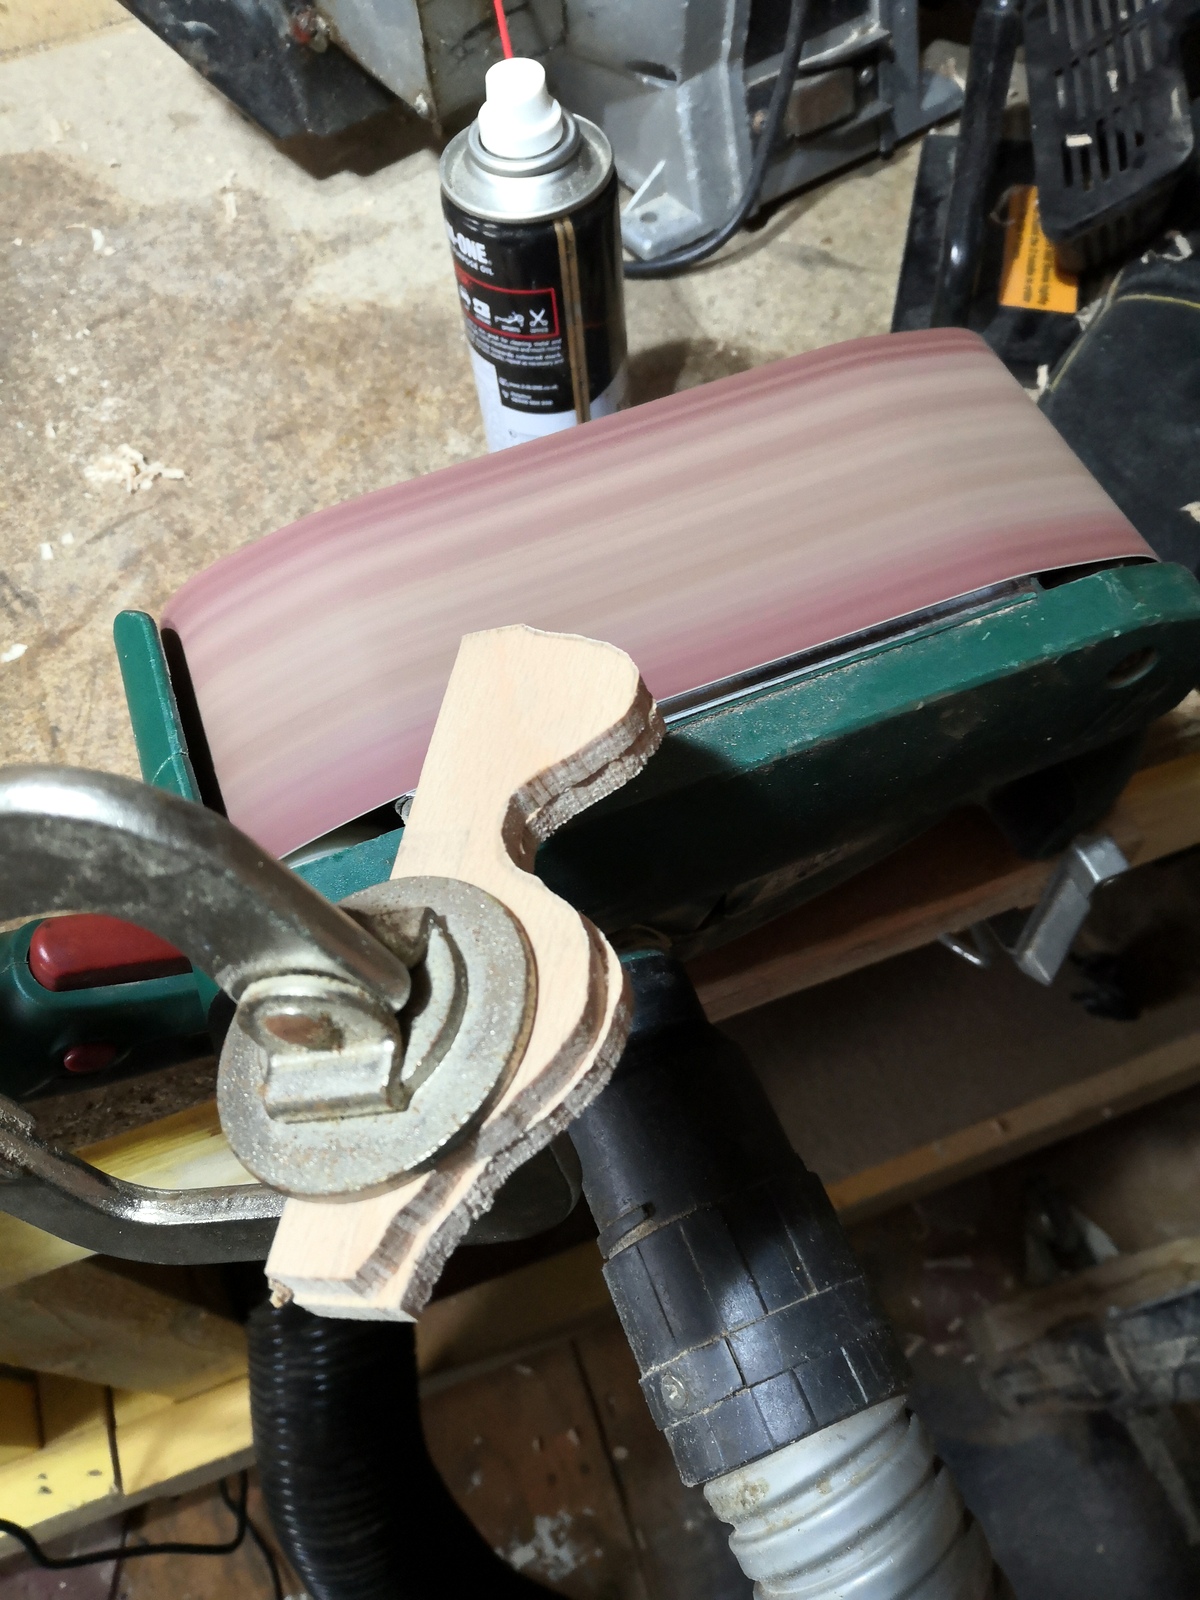
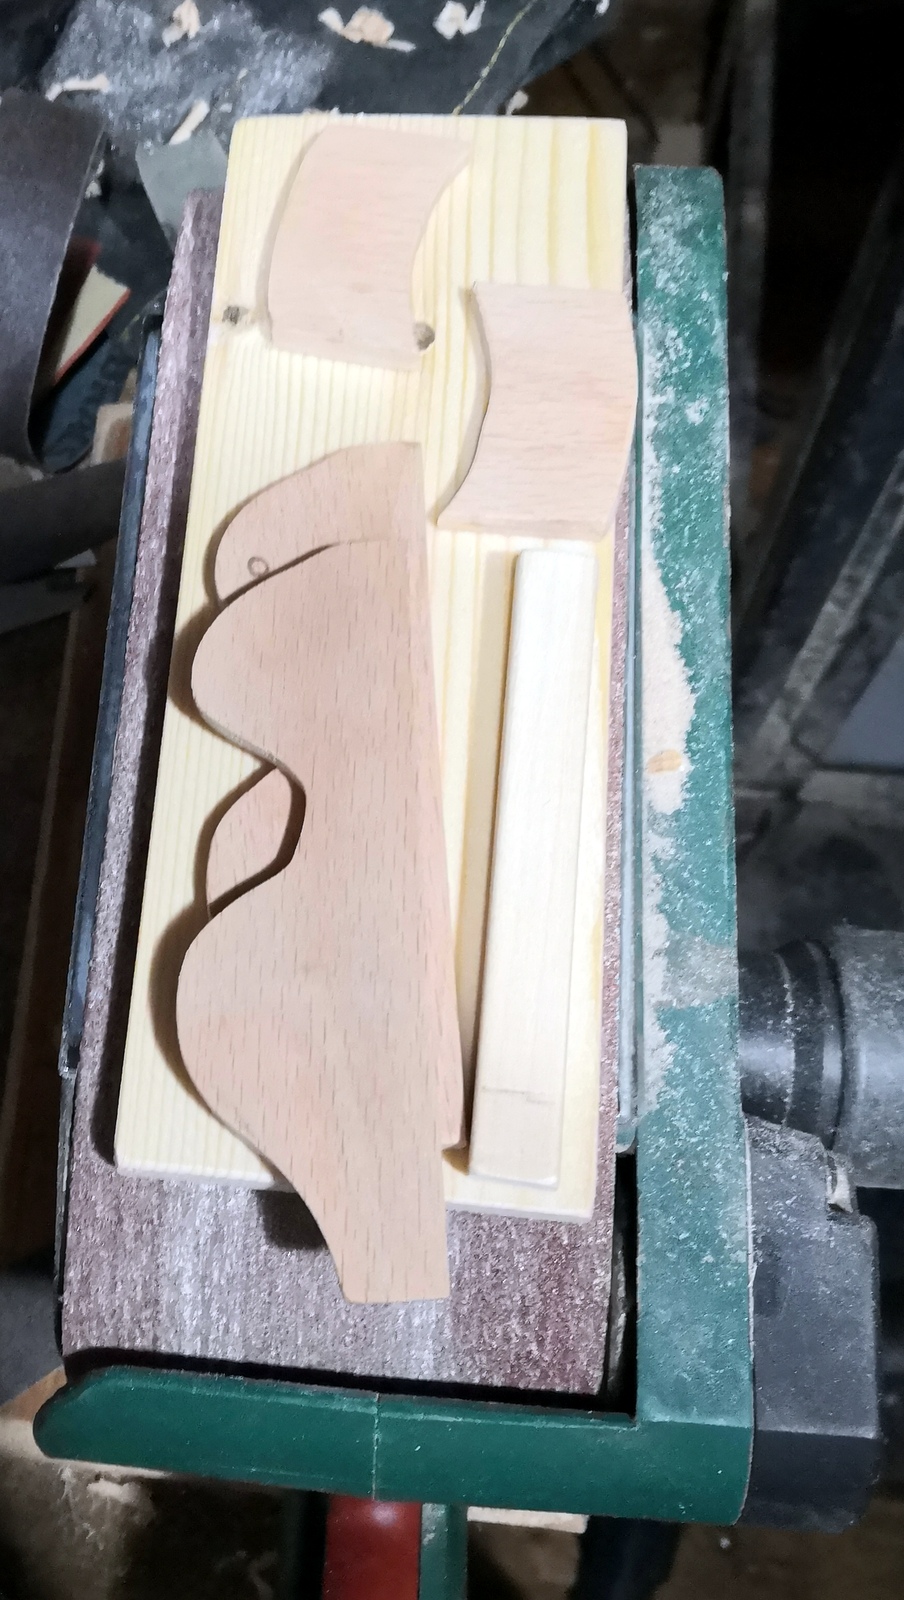
Later, I have started to design a proper working prototype in CAD (Fusion360) – I wanted to have a 3d printed kit ready to distribute. Sadly, it turned out my CAD skills are not up to scratch enough at this moment (an upskilling opportunity right there). So I went on and designed the first device handmade out of wood. A true shed built project.
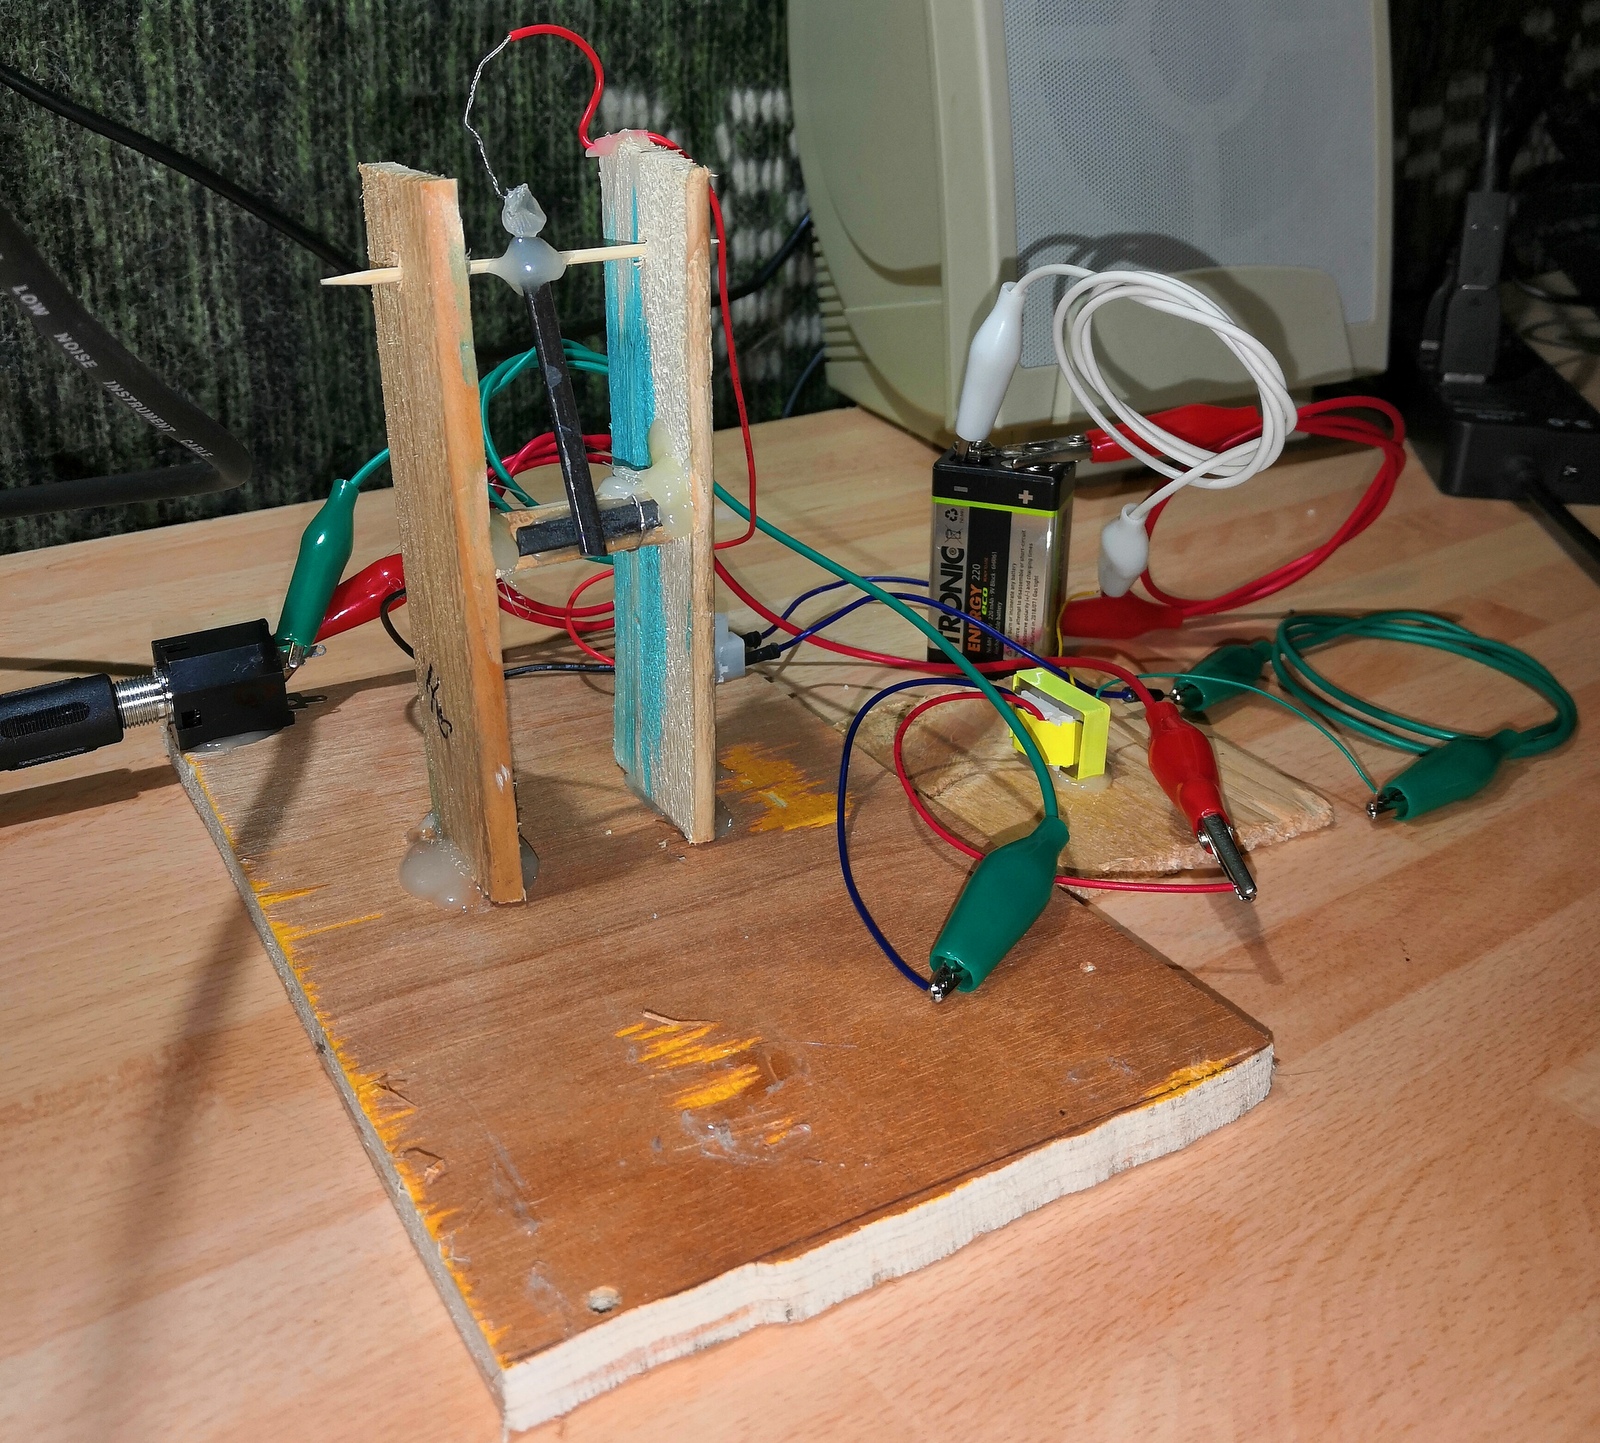
So there we have it, a nice looking wooden microphone. It works and looks great.
A few things to note about the practical usability of the microphone
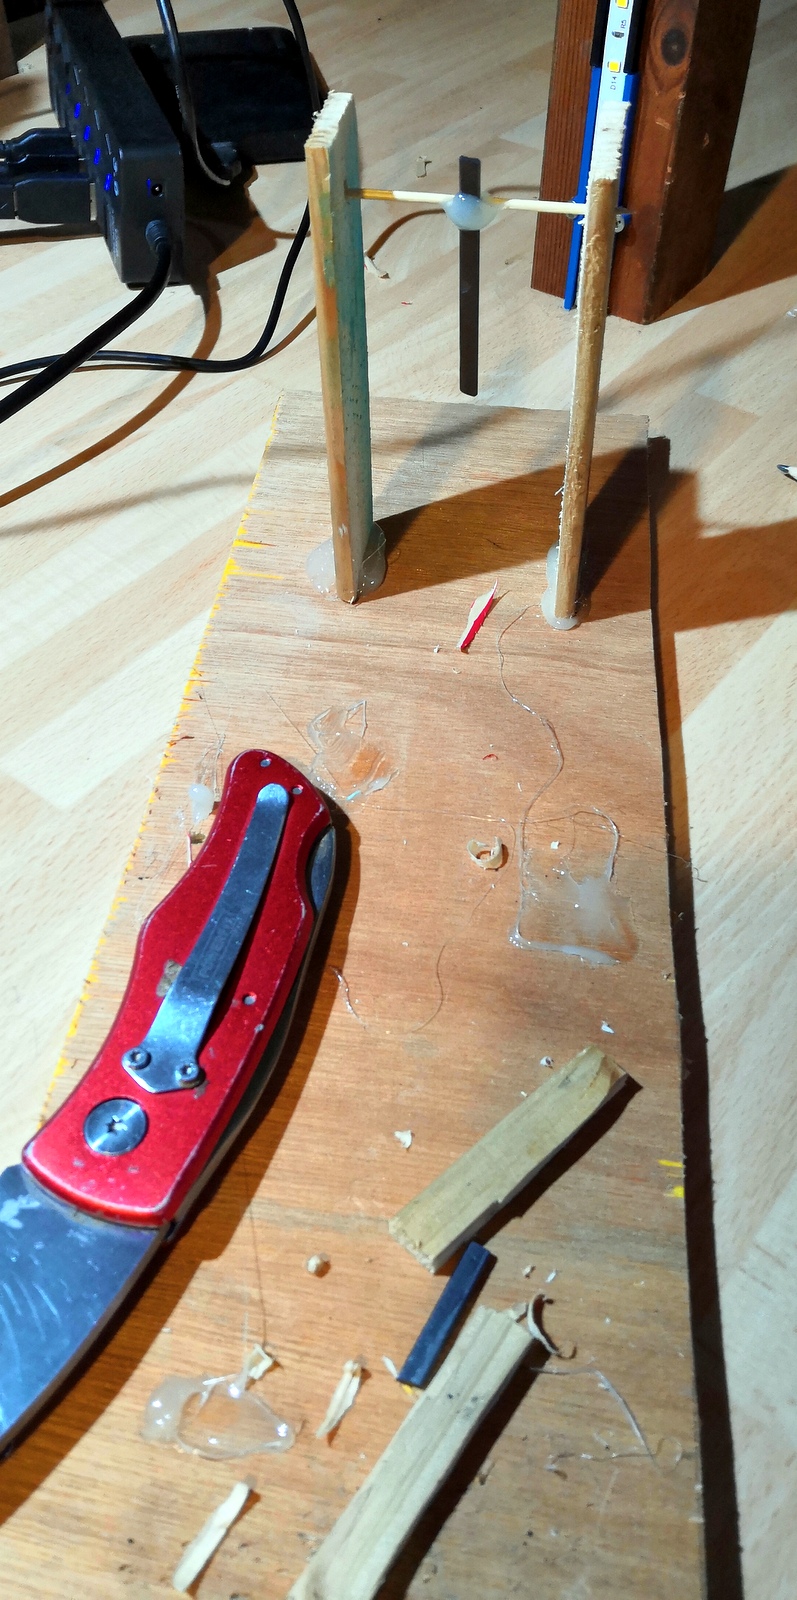
- It takes a bit of time to set it up. Aligning the two contacts together is being done by adjusting the custom weights on the pivoting rod and slightly bending the copper shaft. “A sub-note”: This process could be reduced with proper manufacturing techniques. I have made that entirely by hand, so the tolerances are a bit too liberal.
- Do not expect £3000 worth of condenser microphone quality. This is 19th century technology. The frequency response, well, there is some, but forget low and high end. It also does not pick up sound from further than a few inches/ centimetres
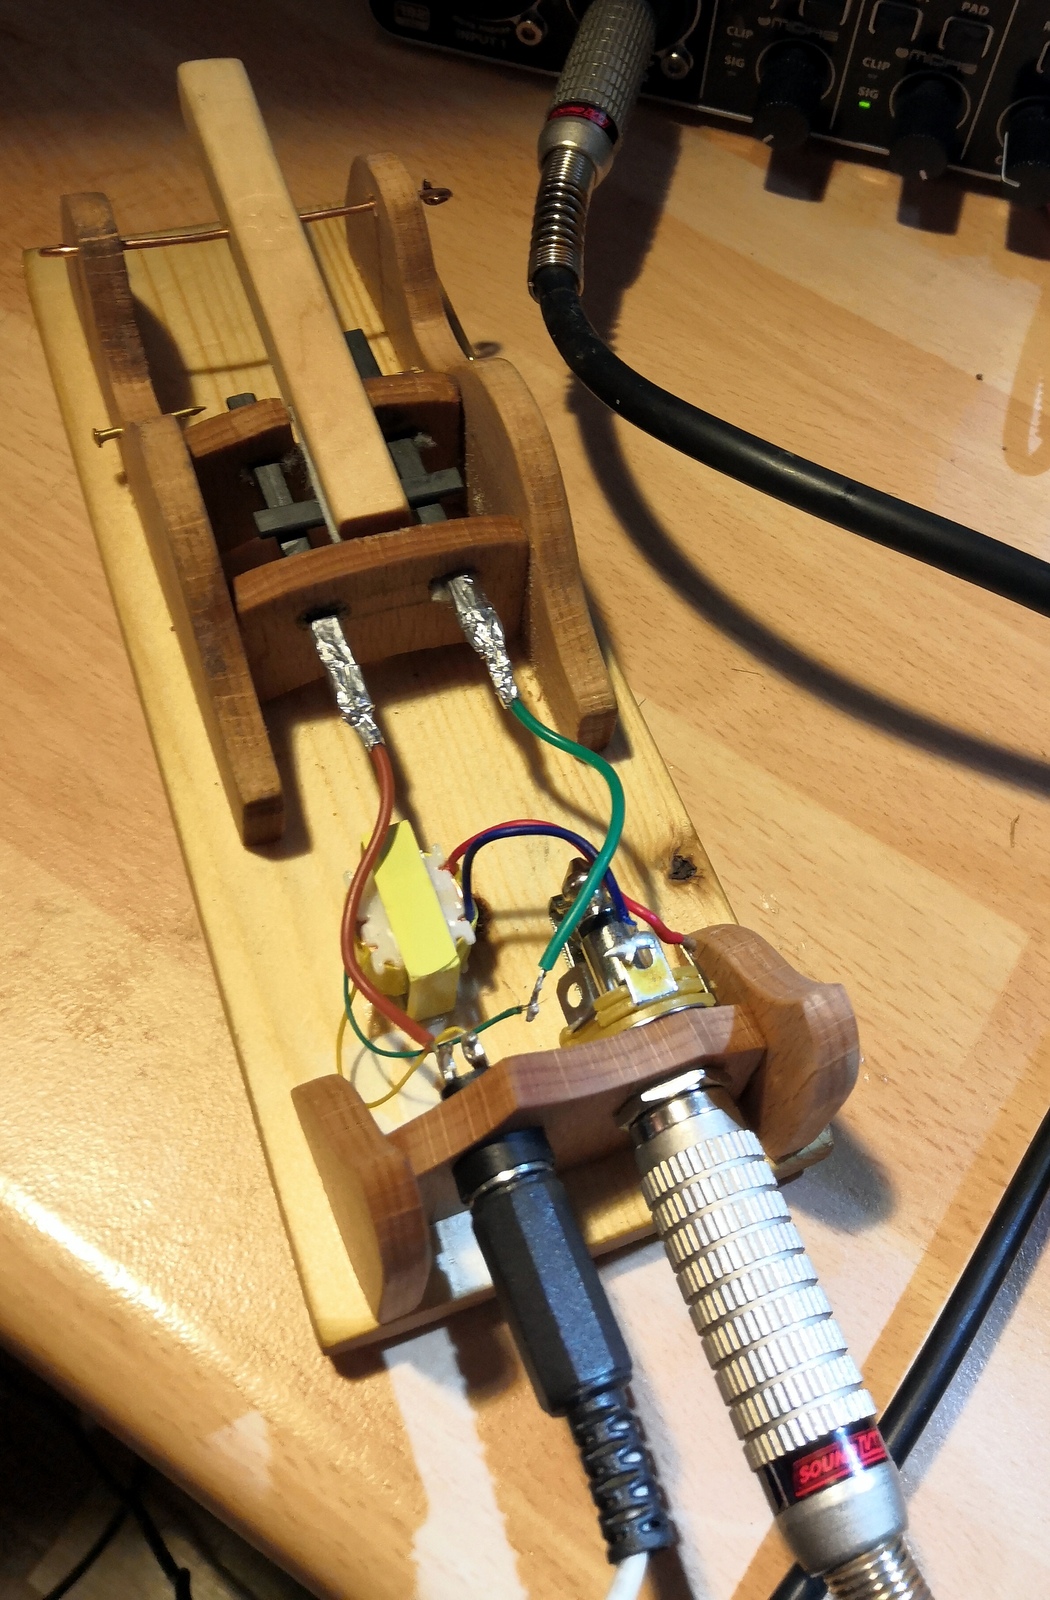
- I am using a ready-made microphone step-up transformer. I am planning to design a primitive transformer which could be constructed at home. For convenience, I am using this pre-made one. The principles of the workings are the same anyway. Two copper windings around an iron core.
- It works using 9-12V DC with a standard DC power socket. Same what you use for powering a guitar pedal.
- It uses 1/4″ jack for audio out, no point to use XLR
The future of this microphone
- I am planning to offer this as a purchasable educational/ novelty product in the future. Using different production techniques, potential buyers could choose between 3d printed and CNC cut kit versions as well as fully assembled handmade versions.
- CAD files for printing and CNC would be released without charge for non-commercial use
- On the grand scheme of things, there might be other DIY microphone kits coming up from the same shed.

who, not whom
lay, not laid
its, not it’s
I DO like your design. The rubber bands are essential to keep pressure on the carbons at all times … many other tinkerers miss this point entirely. Good for you to understand it! Of course the moving stick has to “catch” the sound waves, since that’s what makes it move. If it were wider at the bottom (the part between the pivot and the carbon) then the larger area would “catch” more sound waves, increasing the sensitivity of the mic.
Good luck!
LikeLike
Hi Greg,
Thanks for the feedback! I corrected the spelling mistakes. 🙂 re rubber band: the final (final for the time being) design uses adjustable weights instead of rubber bands, but the principle is the same. I keep your suggestion regarding the larger contact area in mind if I revisit the project in the future.
Cheers,
LikeLike