If you are into customizing or building 3D printers, you might be using an “MKS Gen” control board. I am building a HyperCube from Tech2C and I have chosen to use that card. Correctly installing a Z axis proximity sensor was a good learning process fo me, so I thought I share my experiences, it might be useful for others.
The idea of a standard mechanical end stop is, that a signal circuit is open (thus, is not giving a signal) until the print head would travel to one end of its route (determined by the physical dimensions of your printer). Which point it hits the mechanical switch and closes (triggers) the signal circuit. This signal then picked up by your control board and triggers certain functions, instructed by the board’s firmware.
You might want to use a metal detecting proximity sensor to replace the mechanical switch on the Z axis of your printer. There are several reasons to do that, one of which is the possibility to use it for the auto level function of your firmware (in my case that is Marlin). I have touched the subject of the available alternatives of a mechanical switch in one of my earlier posts.
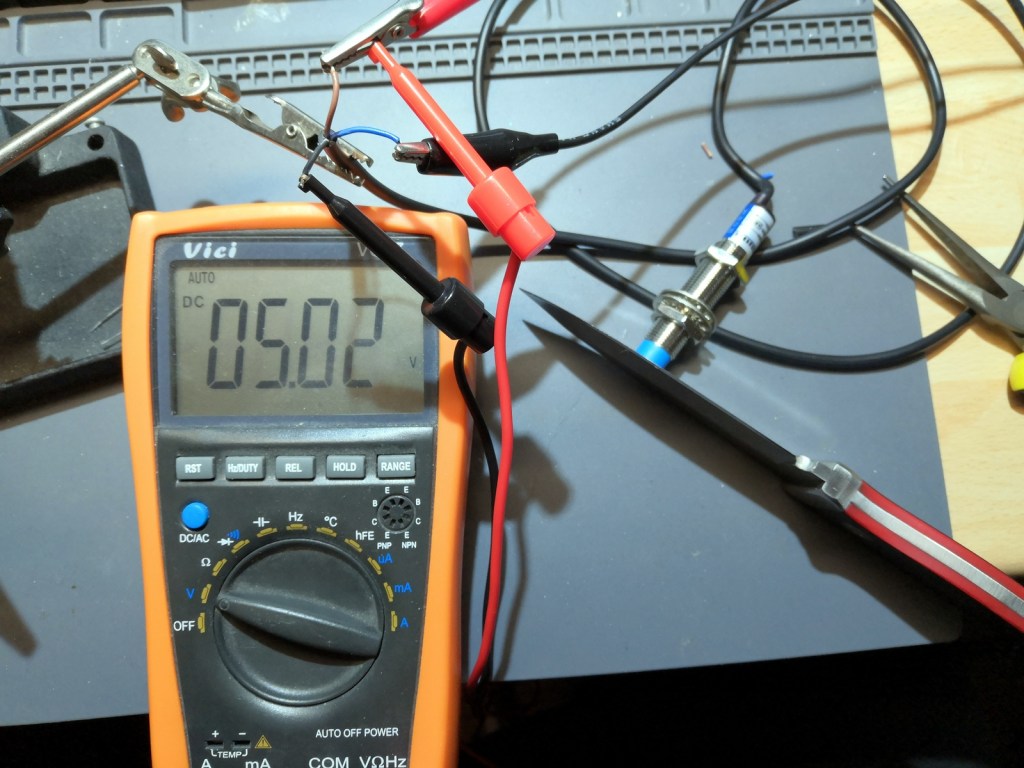
One of the many alternatives of a metal detecting proximity sensor is the one named “LJ12A3-4-Z/BY”, which is quite imaginative if you think about it. This sensor is a PNP sensor. PNP stands for “positive-negative-positive”, that basically means that it is continuously giving voltage in a signal cable, if it is not close to metal and gives zero voltage when it is close. Our metal bit is, of course, the print bed.
That would be OK with most control boards (parameters have to be changed in Marlin), but the MKS Gen card’s hardware prevents the use of this type of sensor. As the device only cost about £3 ($4-$5), the obvious course of action would be to order a NPN type sensor (which would give logic “LOW” voltage while it is not triggered and logic “HIGH” voltage when it is triggered) and instal that with only a small modification.
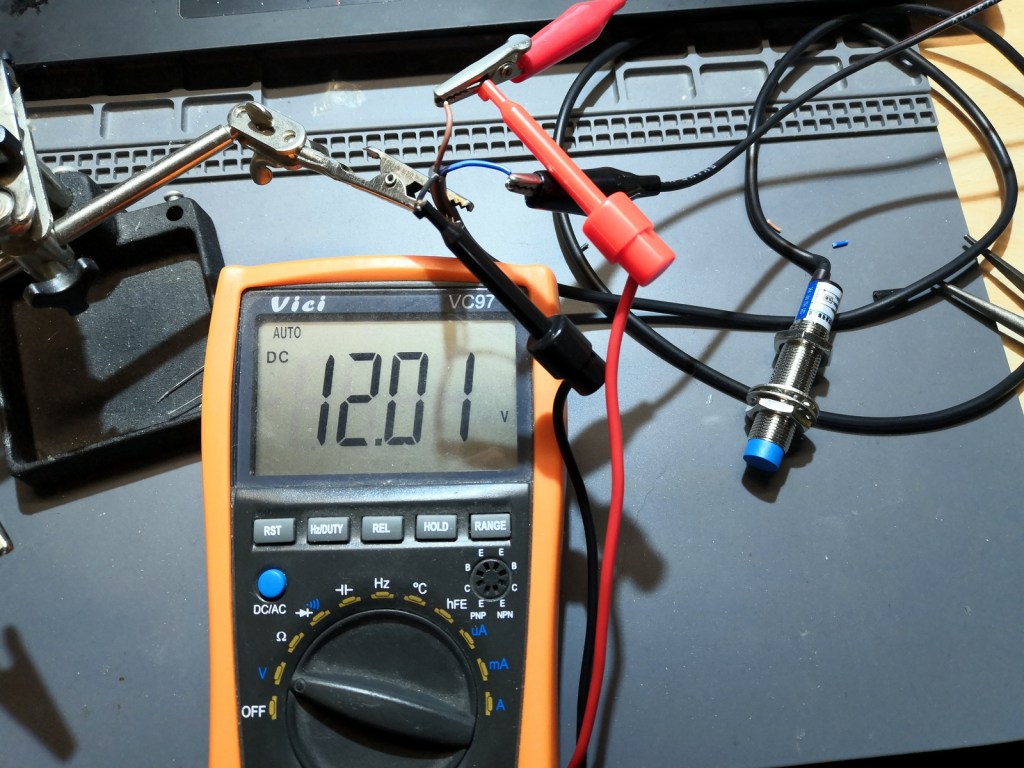
The device requires a minimum 6VDC in order to function properly. The end stop socket on most Arduino based boards only provides 5V. However, it can be powered directly from the power supply, which gives 12V. In that case, the signal will be too strong to feed it back to the board. So you can either use a voltage divider or a diode to step down the strength of the signal.
A good explanation by Tech2C of that can be seen here:
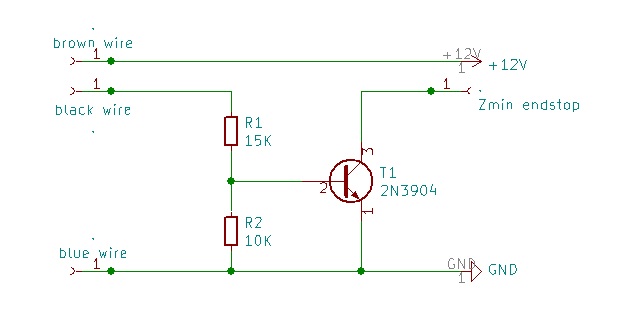
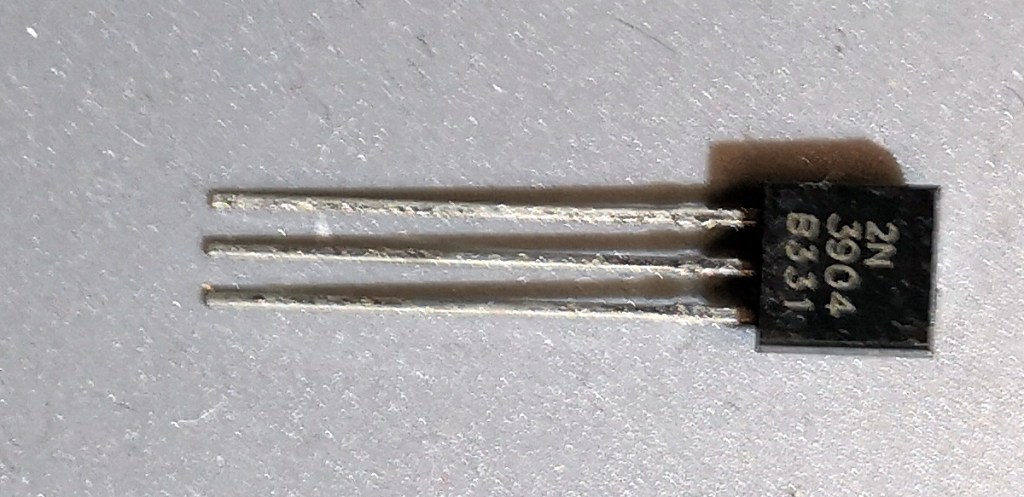
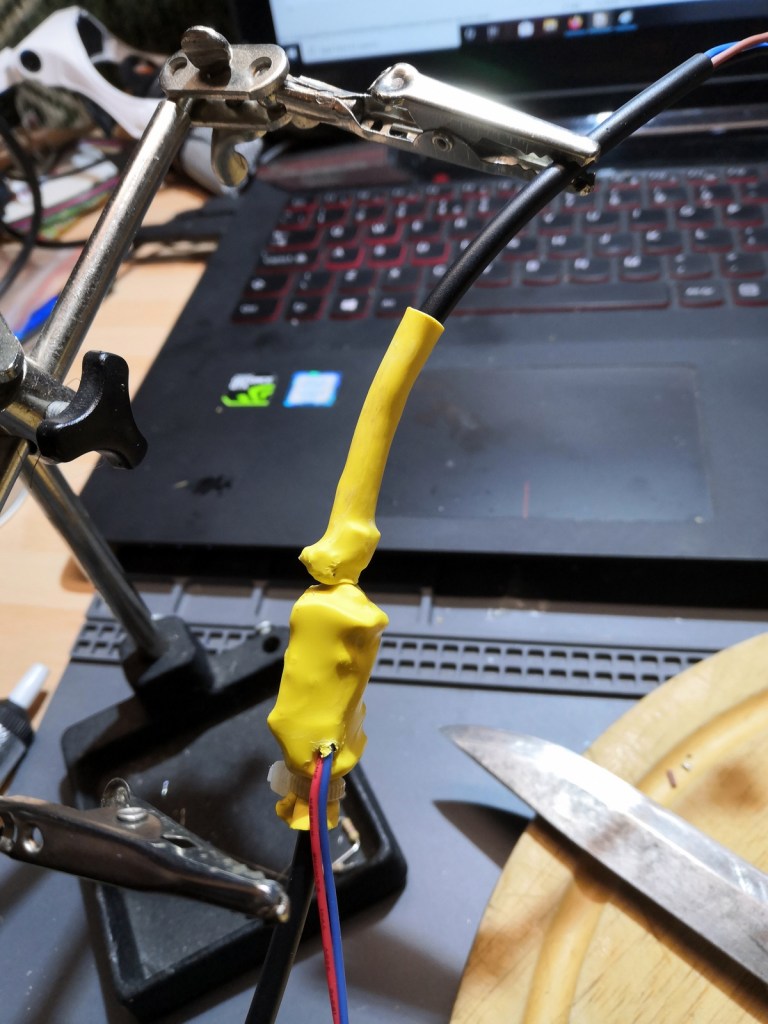
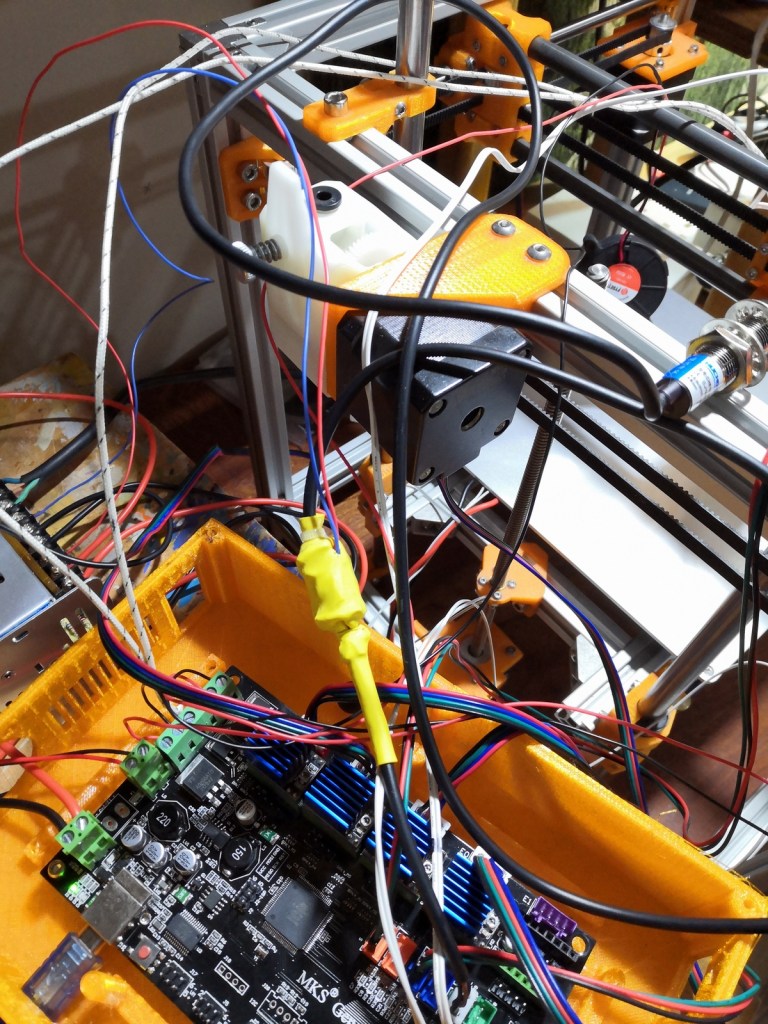
Most “DIYers” like me, however likes the challenge (I guess), so instead of buying another one, I have spent at least half a day with building a simple circuit, using a 2N3904 transistor to reverse the signal, with the advantage of having that signal suitable to feed directly to the board.
Here is the story in pictures:

I am not going into details about the explanation of electronic principles about components, this is more of a guide how to get around of the PNP sensor problem. If you are interested more about the workings of transistors, etc, I will include a reference and recommended links list at the end of this post.
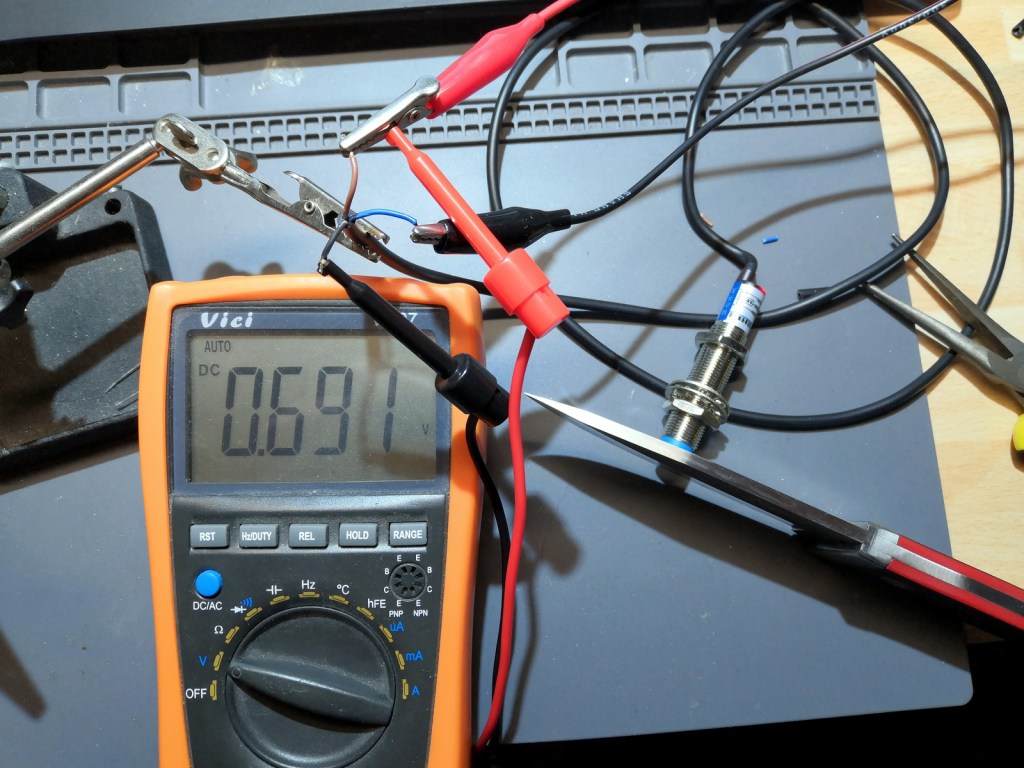
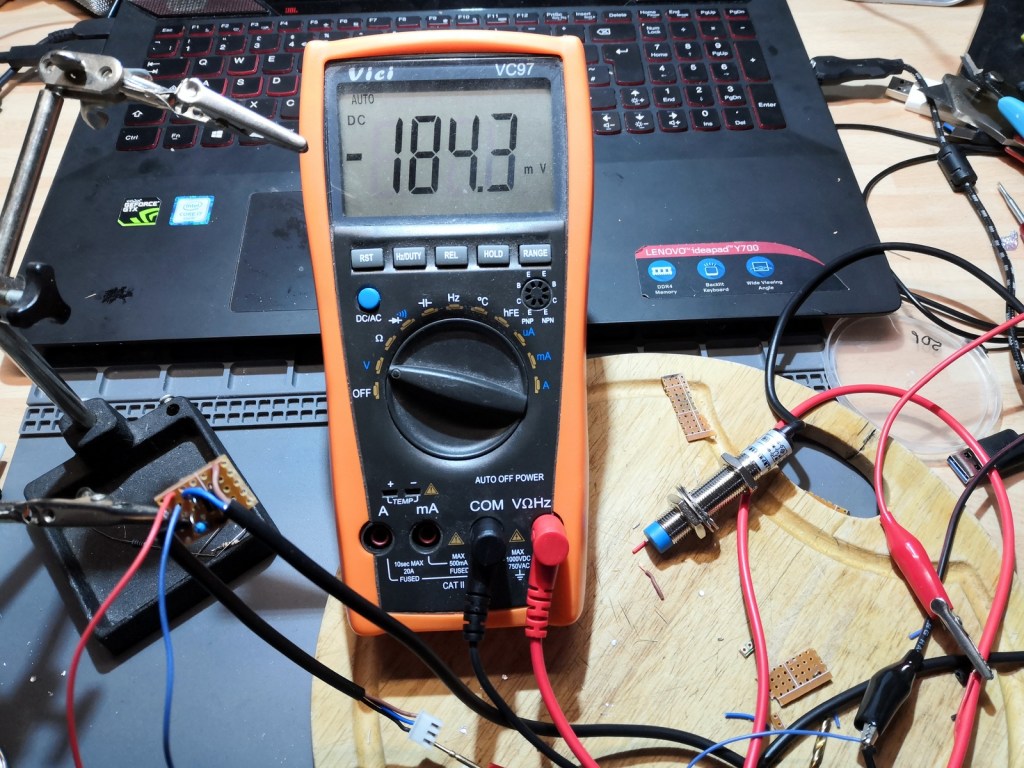
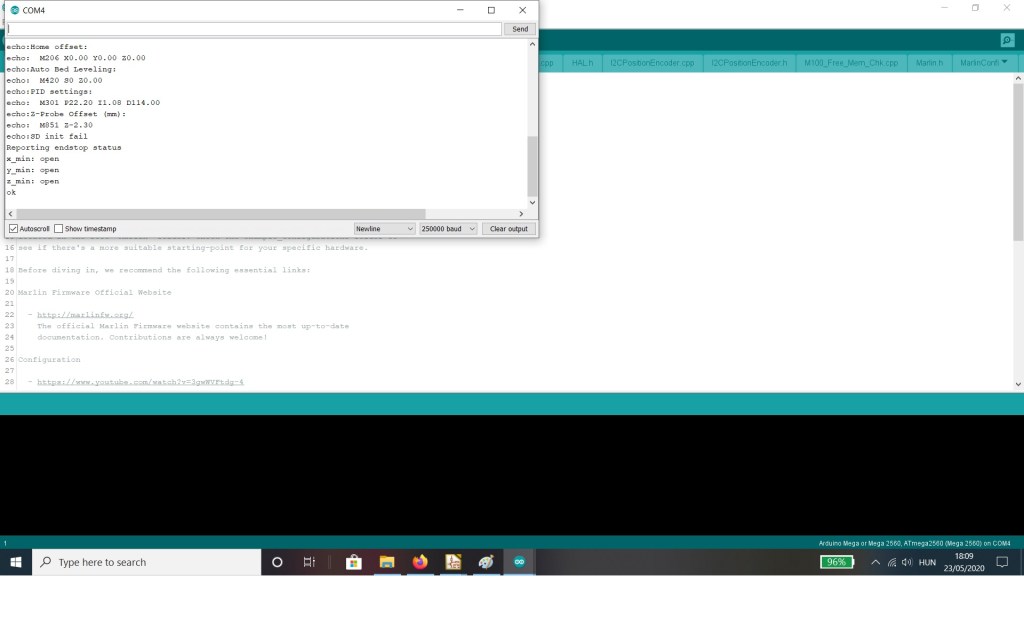
My aim is to reverse the signal pictured above and decrease its strength when it is logic “HIGH”. I need that it gives a “HIGH” signal when triggered and “LOW” signal when it is not.
Here is a simple circuit to build in order to do that. The idea comes from here, I have just draw the schematic in KiCad instead of using the quality hand drawing.
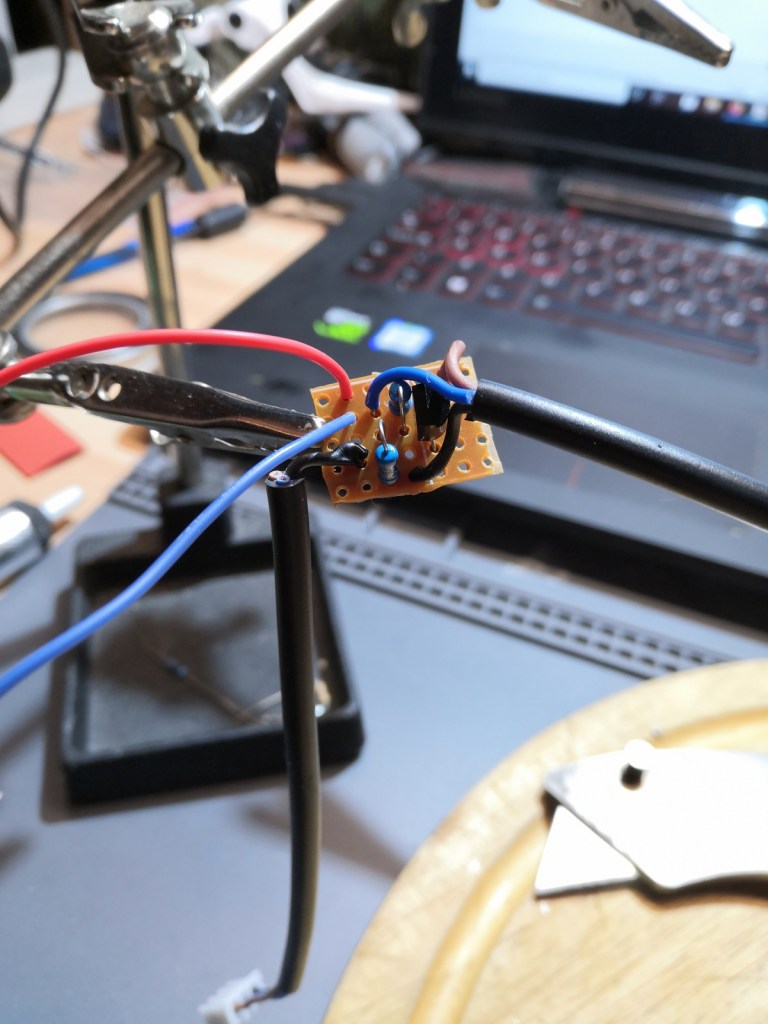
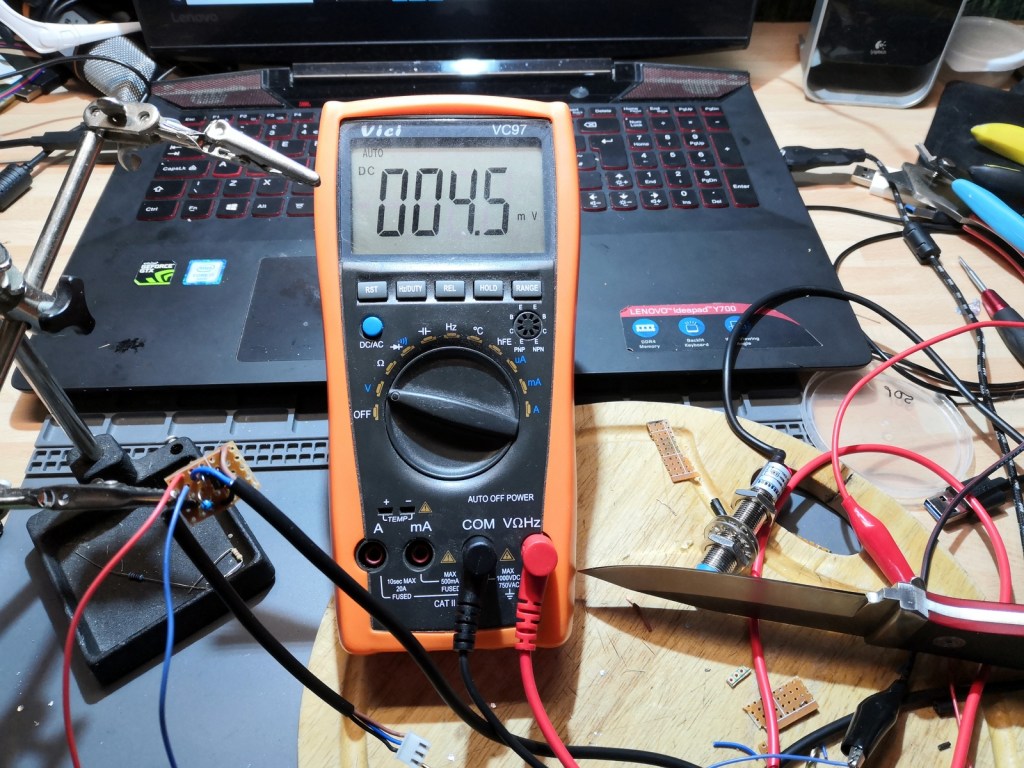
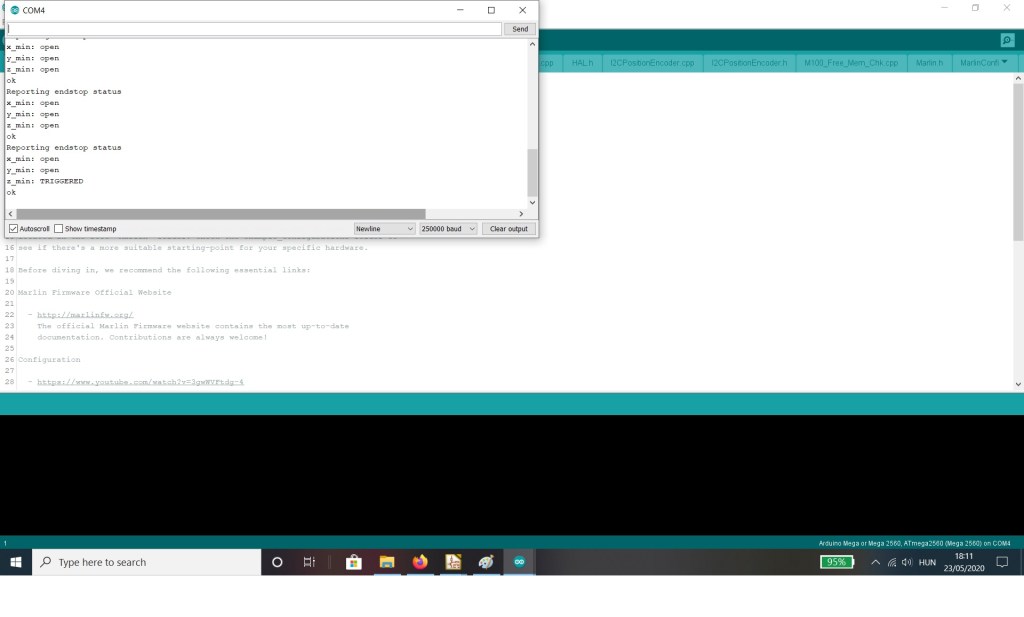
And there you have it! The modification is successful, the sensor now ready to be used in my/ yours/ anyone’s set up.
References and recommended links: (I have no affiliation to anything here, just pointing towards things)
Buy a LJ12A3-4-Z/BY and have the opportunity to spend at least half a day solving a problem, which should not be a problem at the first place!
Read the Art of Electronics. It is the bible of all electronics books.
Read into electronics, but a bit more digestible way.
Build a HyperCube.
Buy a lot of 2N3904 transistor. You can use them to build interesting beginners electronic projects.
Zen3d – Run by a friend, read it if you want to know about DIY 3d printer building or if you want to learn Hungarian – good practice.
Write me an email, if you need help in anything in this post.
